Notifications to Users
If you want to inform BPC users about specific events, you can use the notification feature. These events could include, for example, scheduled maintenance. You can also specify which individuals or groups receive the notification and whether they must be confirmed or are merely for informational purposes.
Access
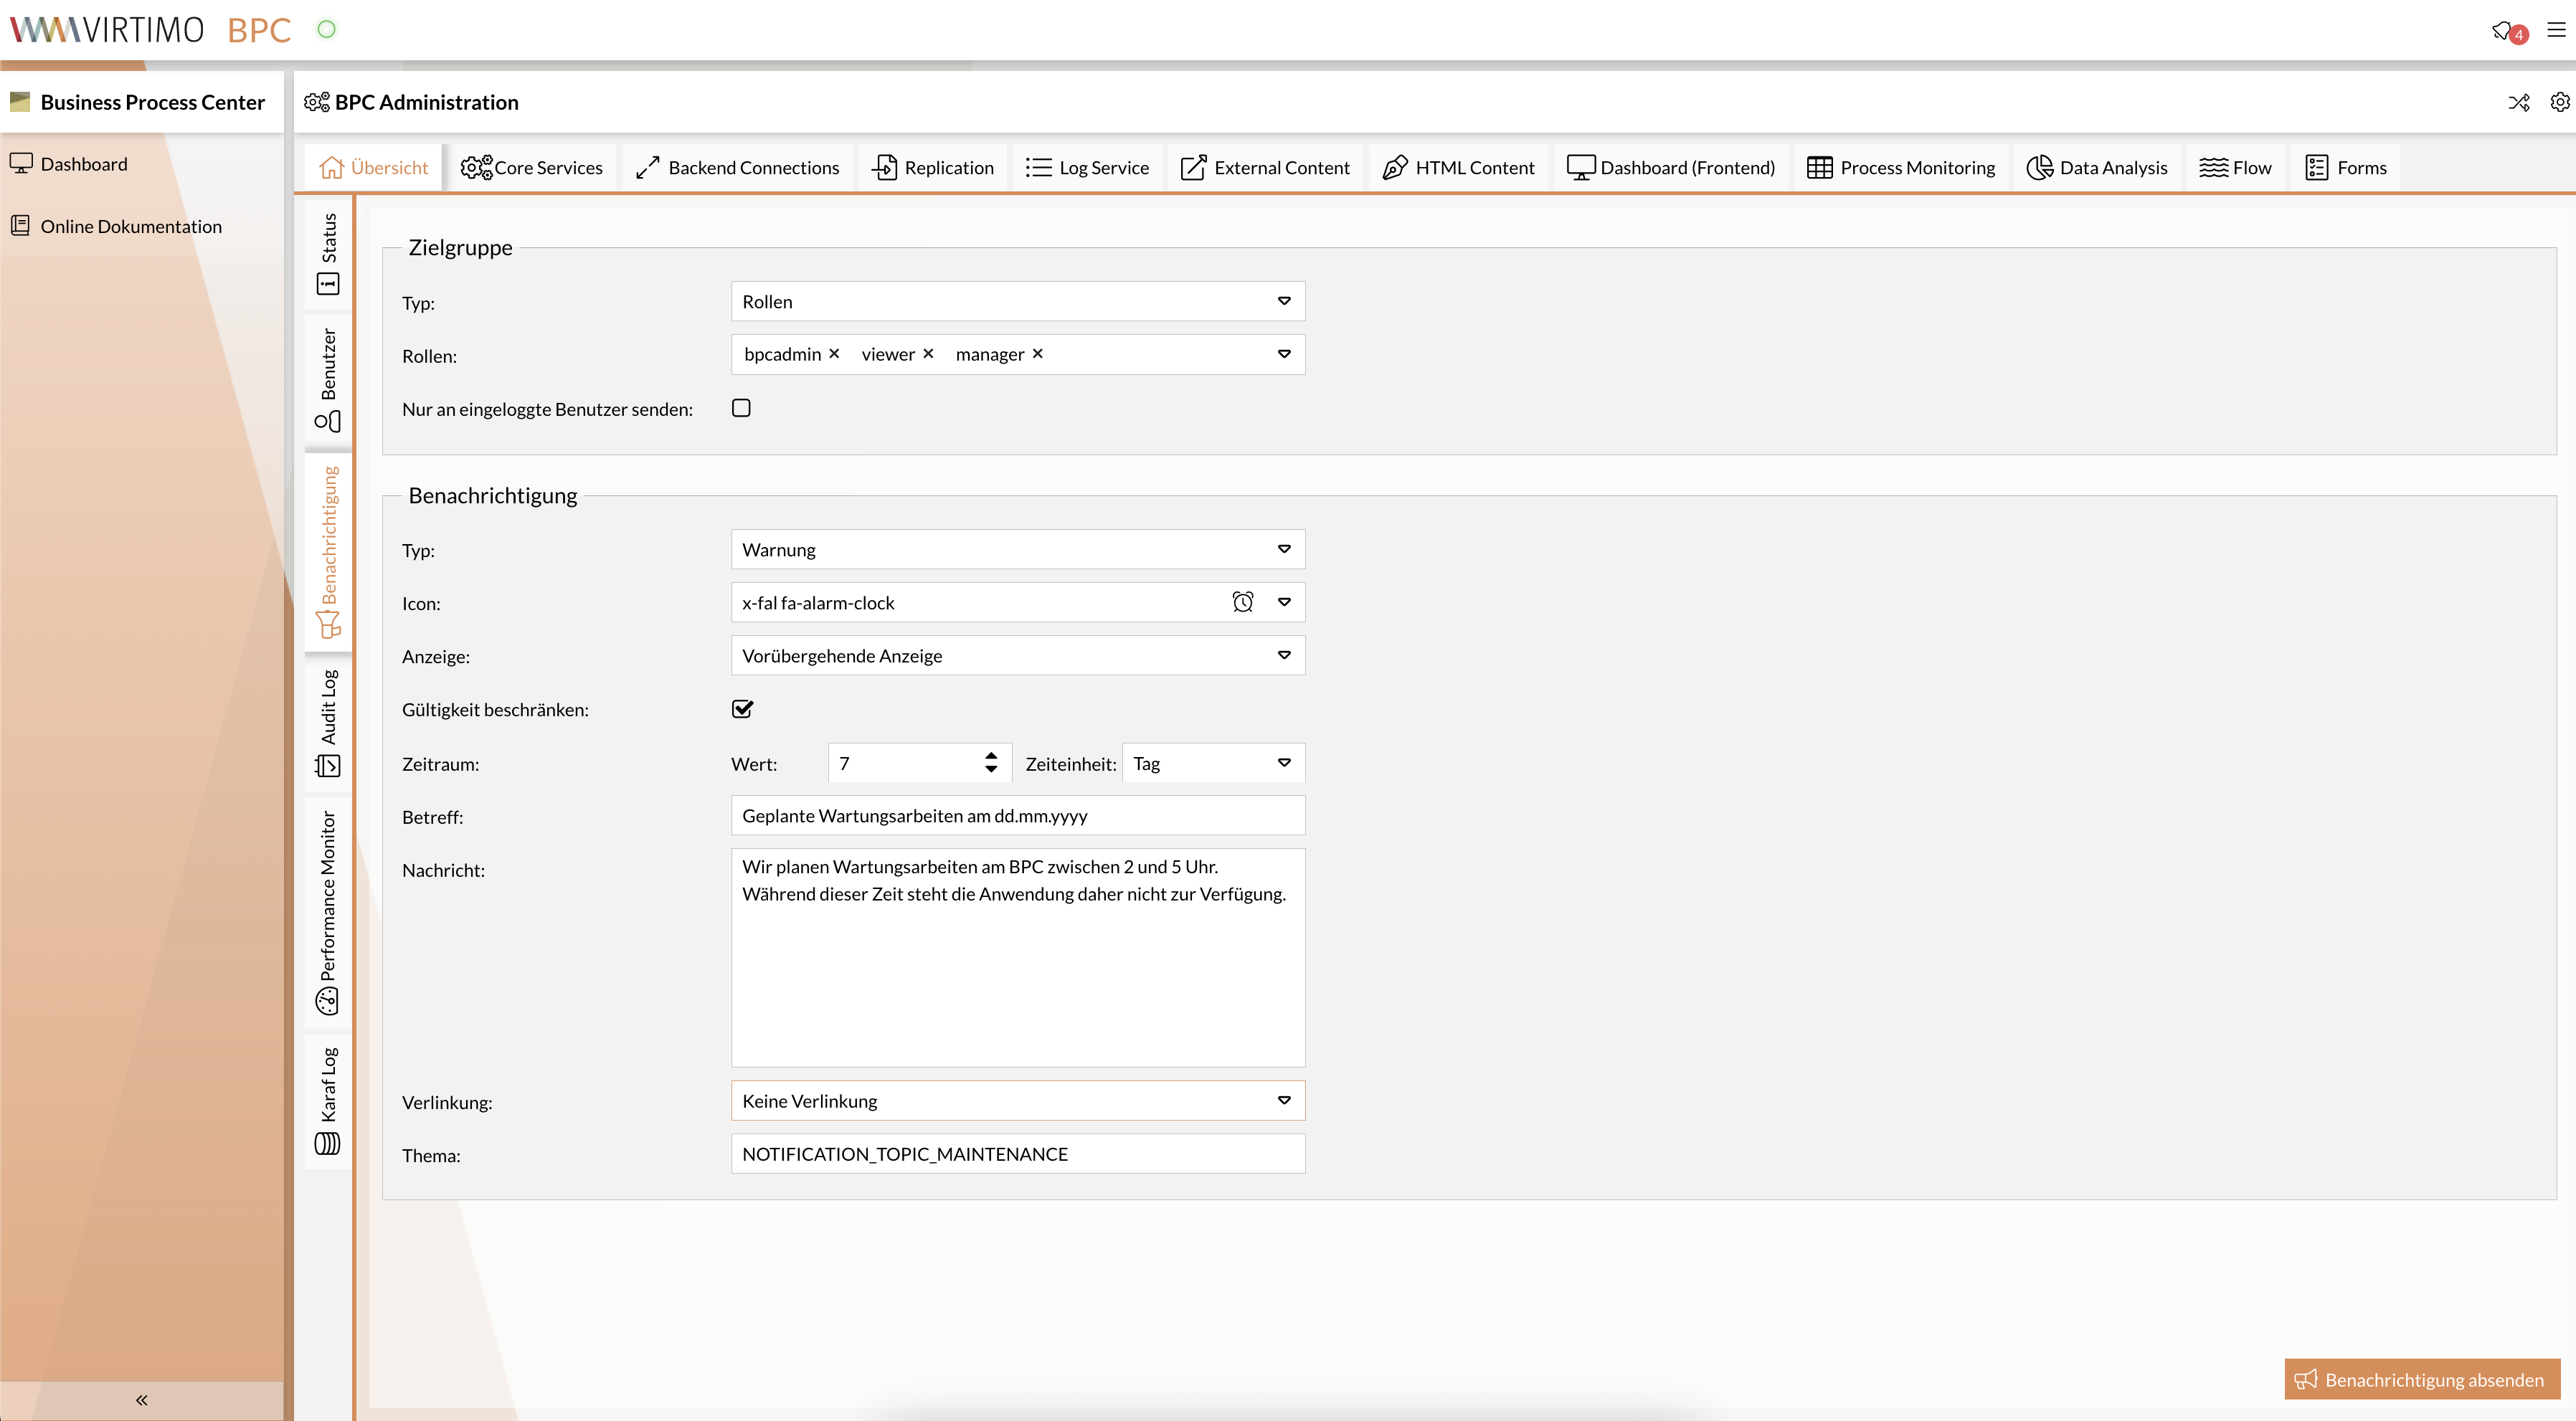
The notification feature is located in the administration area () under the Overview > Notifications tab.
Define Target Group
Notifications can be sent specifically to certain users or target groups. The target group is defined based on the BPC’s rights management system, specifying the recipients (or recipient groups) of the notification. There are two types of target groups:
-
Recipients who hold a role.
-
Recipients who are assigned to an organization.
Depending on the type of recipient group, a list of either organizations or roles available in BPC is displayed.
Accordingly, you can specify one or more recipient groups based on their affiliation with an organization or address individual roles.
If you want to select multiple organizations or roles, click the corresponding fields in the drop-down list one after another.
Additionally, you can send messages specifically to users who are currently logged in.
To do this, check the corresponding checkbox.
The filters by recipient groups remain active even if you select “Send to logged-in users.”
If you want to send a message to all logged-in users, select the role “ bpcuser ” as the recipient group, since every user has this role.
Set the notification priority
Depending on the type of notification, messages appear in different locations on the user interface. There are three different display options:
-
Notification requiring confirmation
A pop-up window opens on the target group’s user interface. This window is only closed once the user confirms it.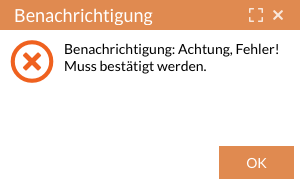
-
Temporary display
A message appears on the target user’s interface that disappears on its own after a short time.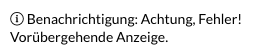
-
No display
The notification appears only in the notification history.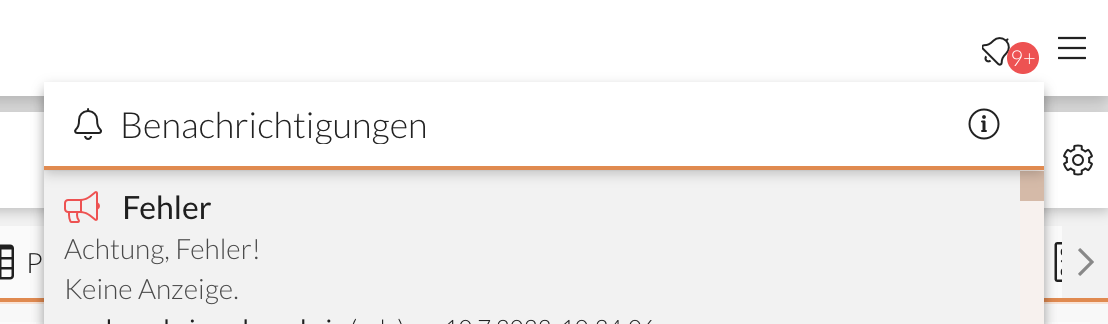
There are also different notification types that make the urgency more apparent to the recipient:
-
Error
-
Warning
-
Information
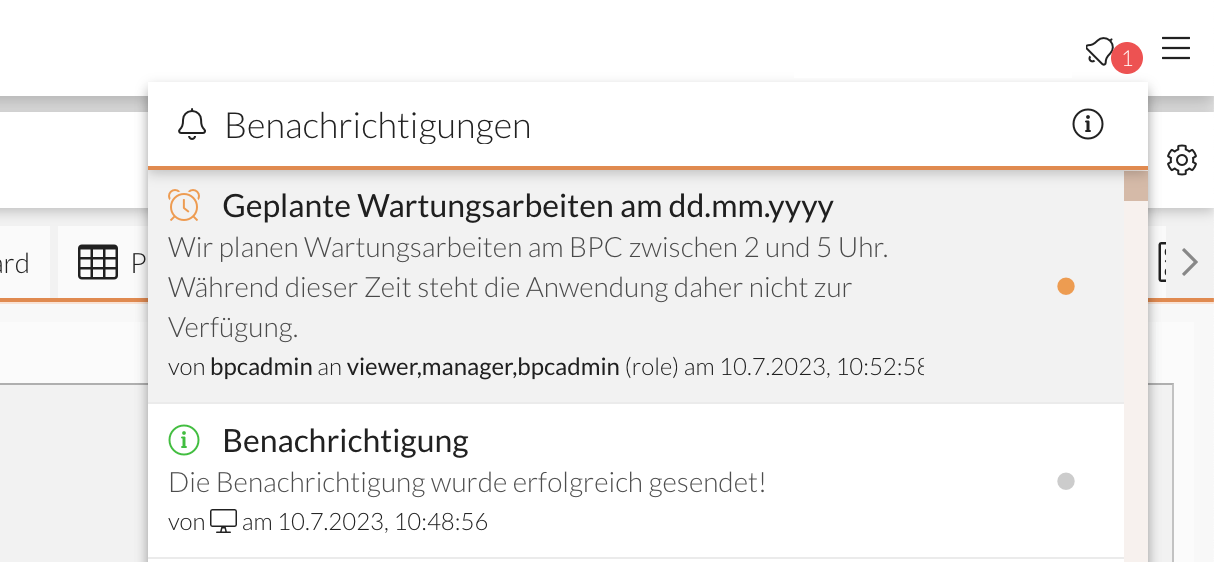
All messages, regardless of type or display, are saved in the notifications menu and can be reviewed there.
Time-Limited Validity
Notifications can specify a specific validity period. Once a notification’s validity has expired, it is no longer displayed in the notification list.
Add a Link
A notification can contain a link. This can either be a link to an external website or an internal BPC navigation link to a specific module.
To set a link, select either "External Website" or "Internal BPC Navigation" under "Link." You can then enter the link in the corresponding text field.
To link to an external website, the full URL must be provided. For BPC internal navigation, the hash component of the BPC URL is specified. This is located in the URL after the '#' character.
Notification Topics
Notifications can have a topic. You can then use the API to selectively delete notifications for a specific topic.
This is useful, for example, if you send a license expiration warning and want to delete old license warnings so that a user sees only the current warning for that topic.
See also Notification API.
Send Notification
After you have selected or filled in all fields, click the button Send Notification.