Manage Process Views
If you use custom Filter Columns or, for example, want to change the order in which columns are displayed, you can save these changes as separate views. This allows you to quickly access the customized settings again.
Access
To assign the appropriate permissions for managing process views, see Permissions.
Save Current View
-
After you have customized the view to your liking, click the icon.
(Depending on your administrator’s configuration, the icon may be located in different places on the user interface, e.g., in the BPC toolbar or in the module header.) -
Select Add New View.
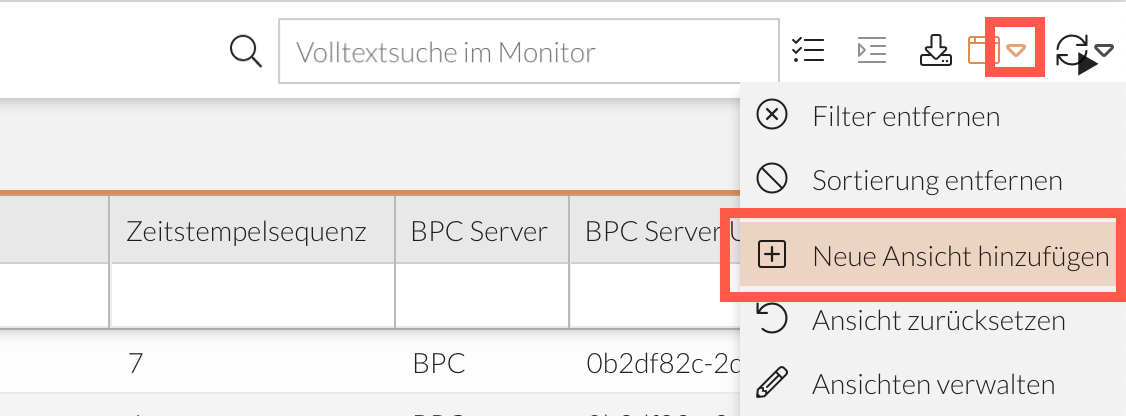
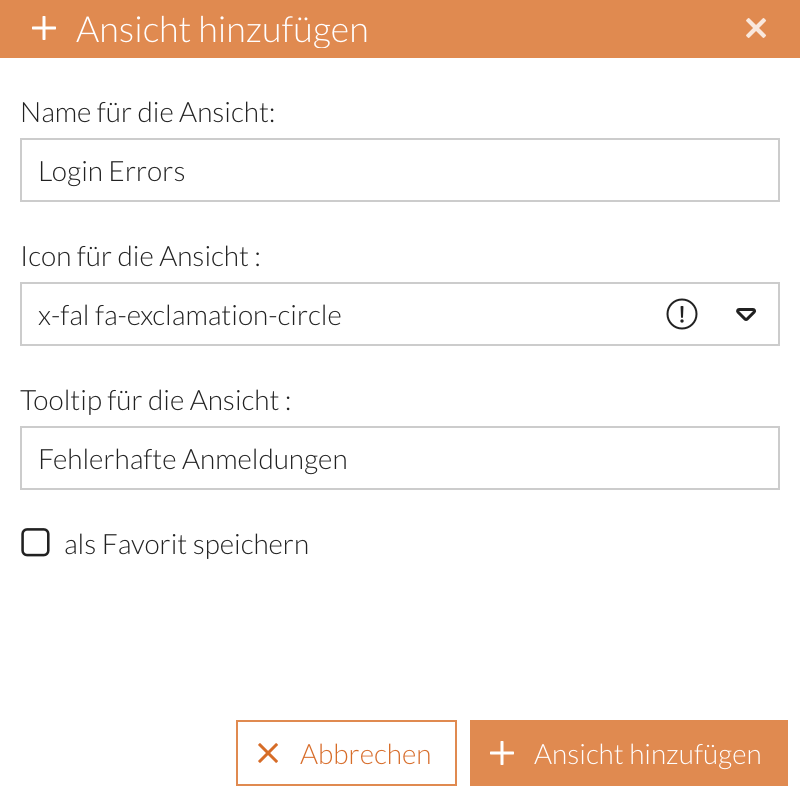
A window will open where you can enter and select additional details.
-
Click the Add View button.
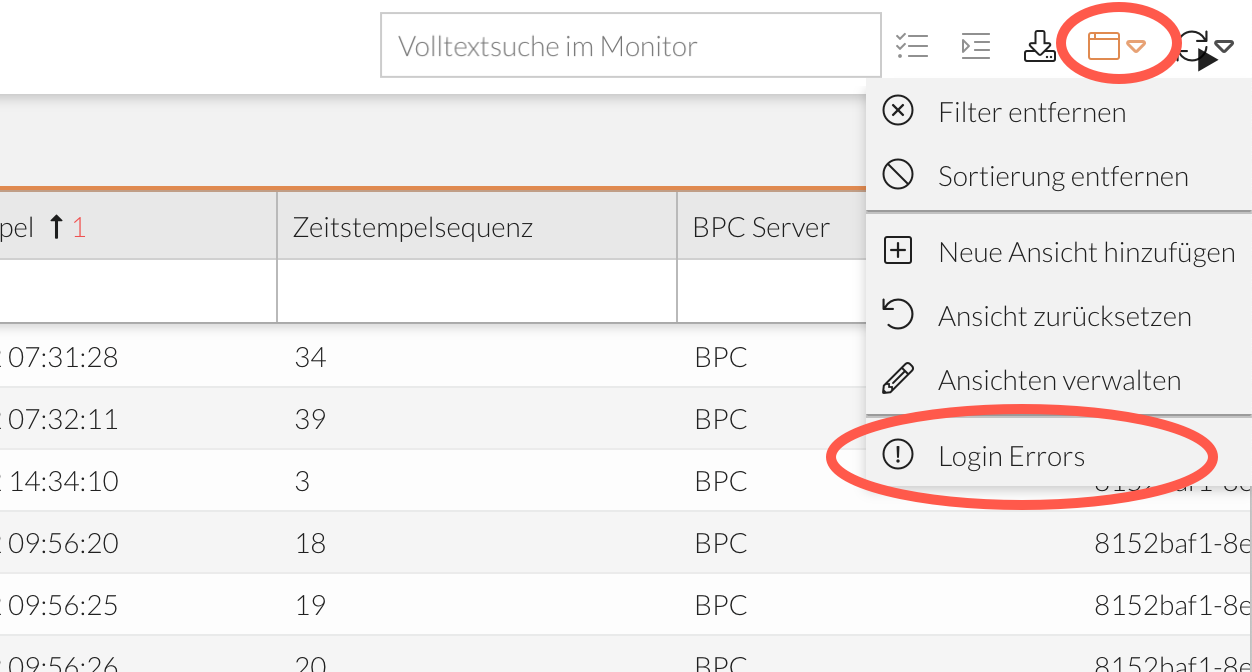
The current view has been saved. It is now listed under the icon and can be selected there.
|
You can also localize a view’s name by saving the “Language key” as the view’s name. |
Save View as Favorite
Views saved as favorites appear not only in the list under the icon but also as a button in the module header. This makes accessing these views even easier and faster.
-
After you have customized the view to your liking, click the icon.
-
Select Add New View.
A window will open where you can enter and select additional details.
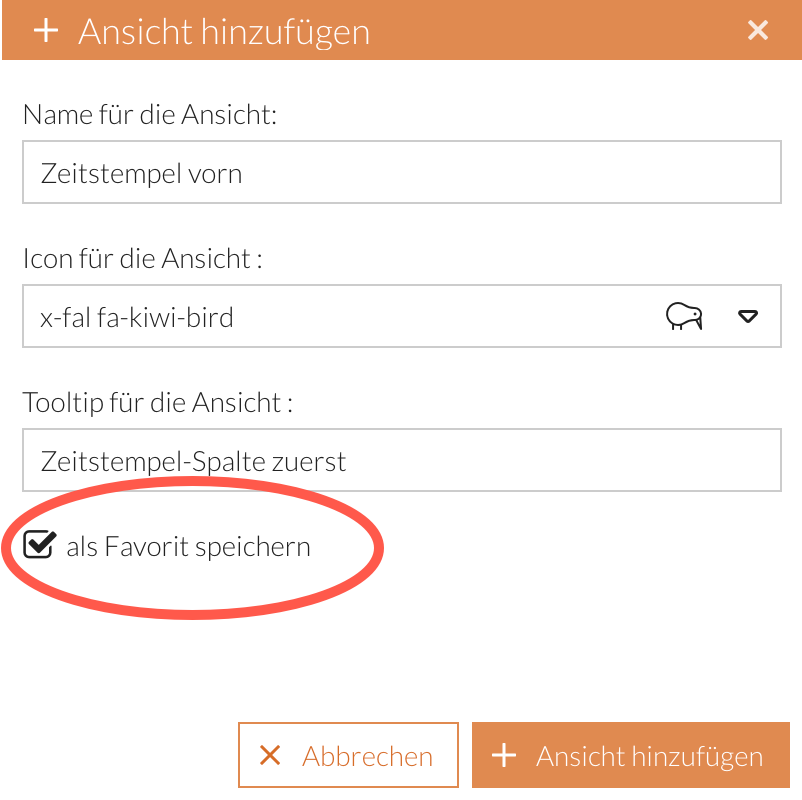
-
Check the box next to “Save as Favorite.”
-
Click the “Add View” button.
The current view has been saved. It is now accessible in the following locations:
-
Under the icon in the list of saved views:
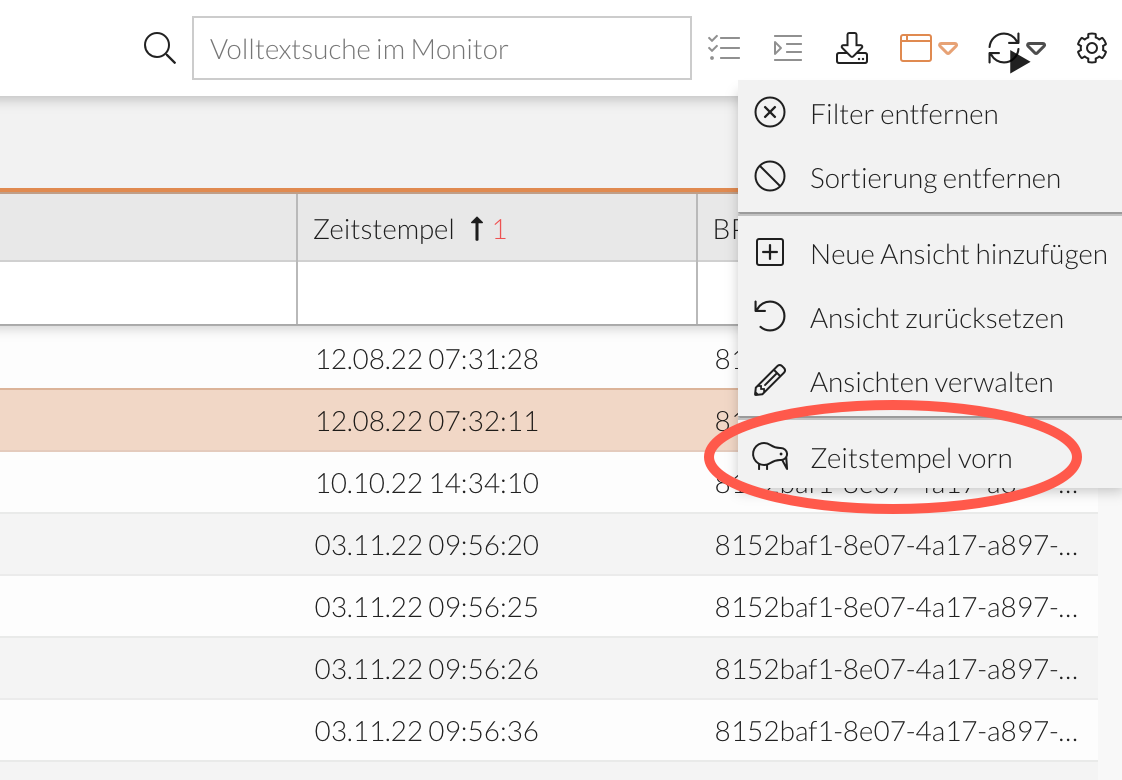
-
As a button in the module header in a favorites list:
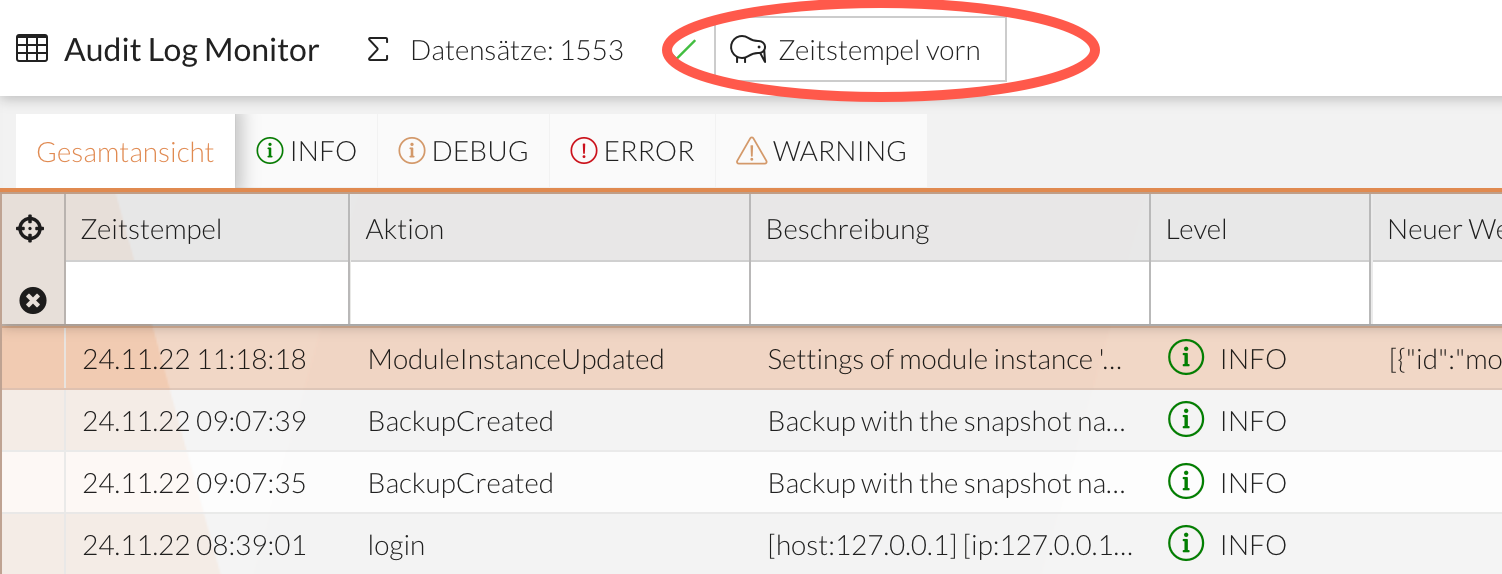
Accessing a Saved View
Views preconfigured by the administrator or saved by you can be accessed in two different ways:
-
via the icon, see Save Current View
-
via the corresponding button in the favorites list, see Save View as Favorite
When you open a custom view, all customizations are immediately applied to the current data set.
Modify a Saved View
If you want to modify a saved view or the filters and sort orders it contains, you can replace the saved view with the current, modified view.
-
If you haven’t already done so, open the saved view using the icon or, if applicable, via the favorites list.
-
Make the desired adjustments to the view.
Changes that haven’t been saved yet are indicated only for favorites by a colored dot next to the respective button: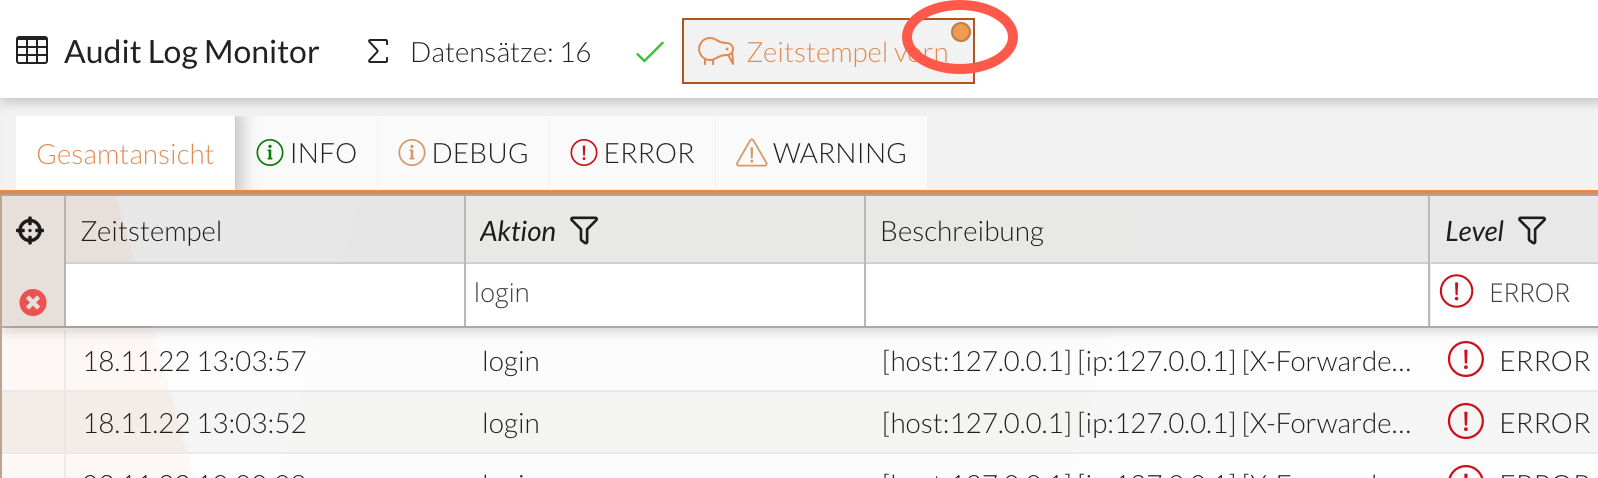
-
Save changes → Changes to the active view are persisted in the backend.
-
Discard changes → Unsaved changes to the active view are discarded.
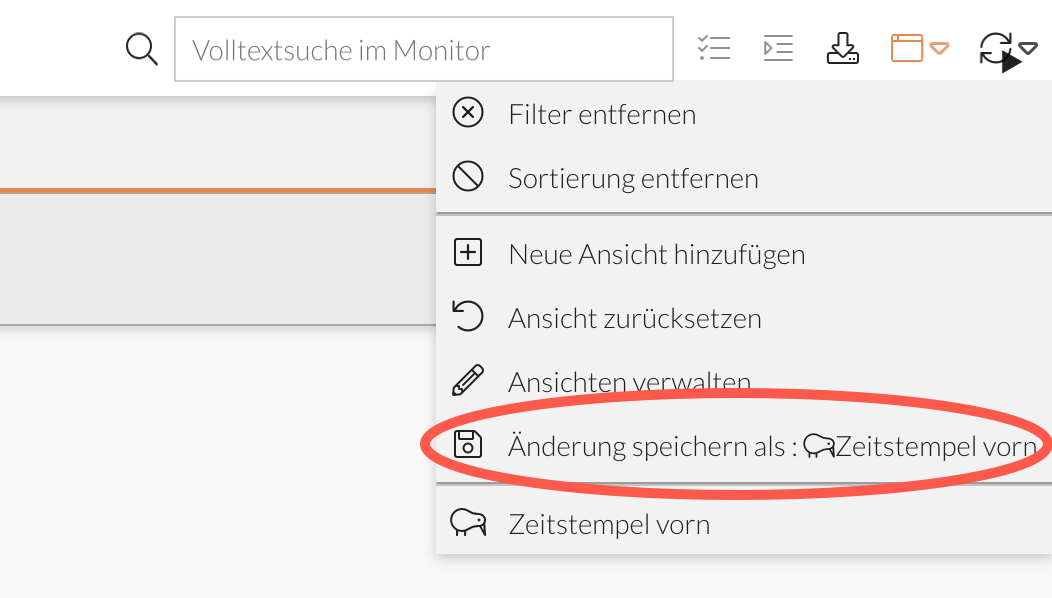
-
|
Changes to the monitor configuration may result in unsaved changes to the current view. |
Reset View
The current view can be reset so that all filters and sorts are removed and the default view is restored.
There are three ways to do this:
-
via -icon > Reset View:
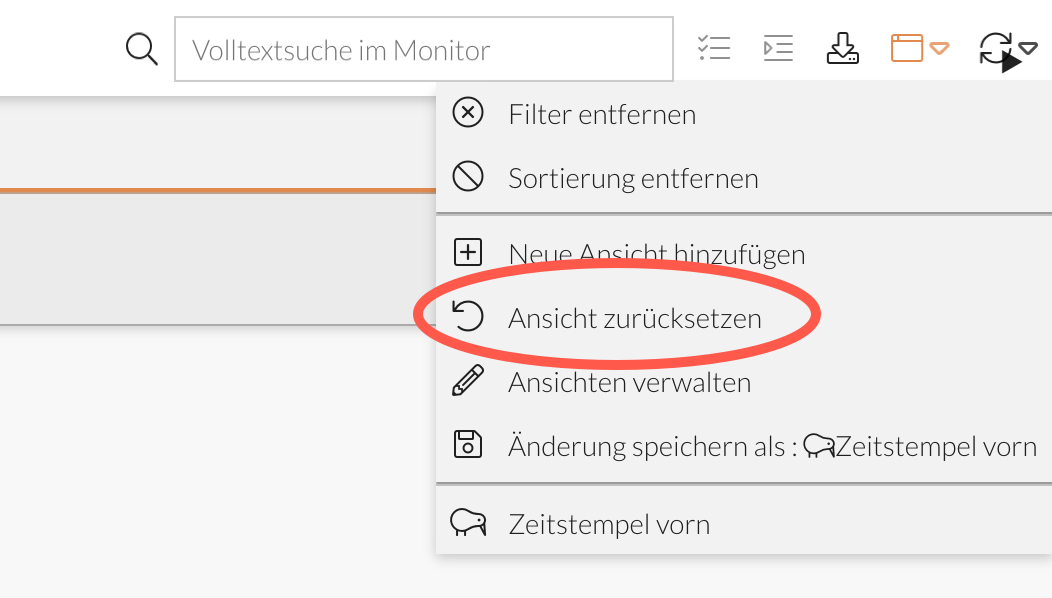
-
via the right-click context menu:
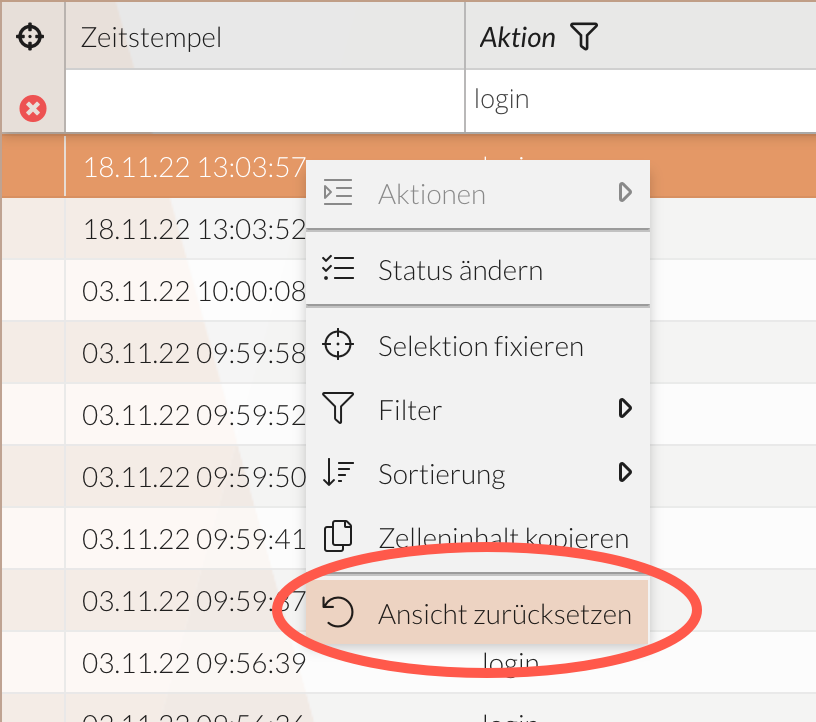
-
only for favorites views: by clicking the currently active favorites button again
Remove a saved view
To delete a view, the user selects the corresponding view in the overview and can remove it by clicking the trash can icon. Finally, click “Save” to apply the changes.
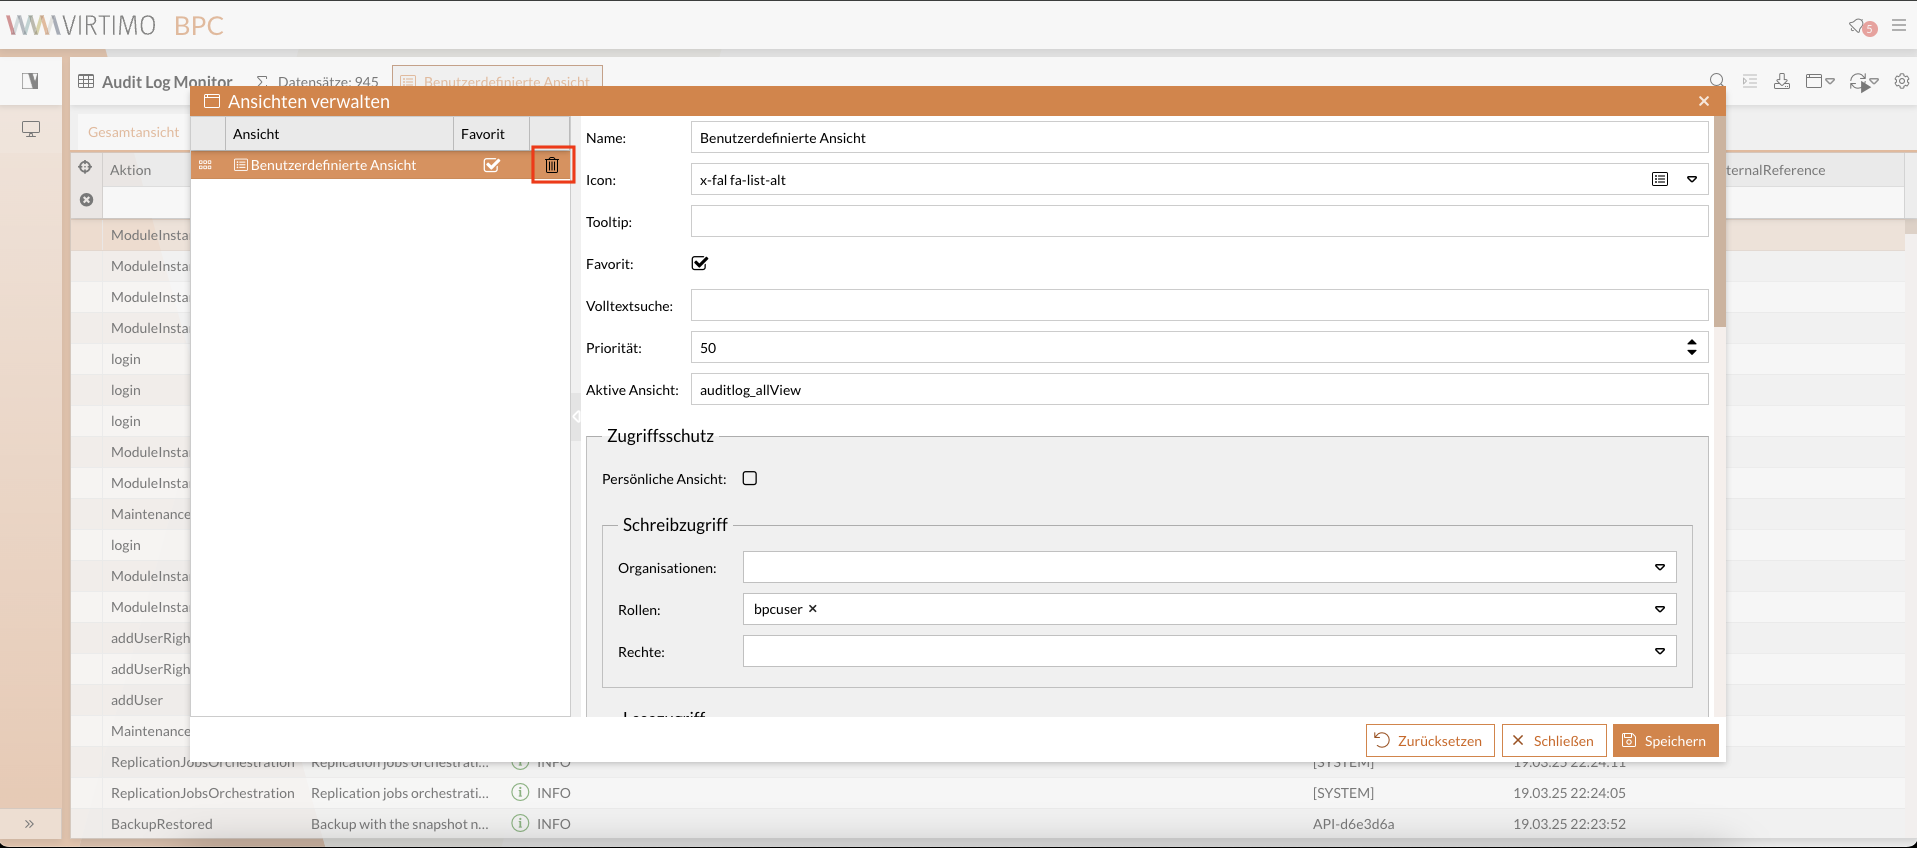
Lock View or Selected Records
If you want to limit the view to a selection of records or to the records currently displayed, you can lock the view or the current selection.
Lock Current View:
-
You have not selected any rows.
-
Click the icon in the table header.
The currently displayed records are locked. All other records are hidden.
Lock selected records:
-
You have selected one or more rows of the dataset.
-
Lock the selection:
-
Click the icon in the table header.
or -
Right-click to open the context menu.
-
Select “Lock Selection.”
-
The selected records are locked. All other records are hidden.
Remove Fixation
To reset the view with the fixed records, you can:
-
the Reset View
-
remove all filters using the icon in the table header; see Remove Filters
Display Records in Groups
Records can be grouped by columns. Depending on the column configuration set by the administrator, this is possible for all columns or only for individual columns.
Depending on the column, the records are then displayed in groups, with each group corresponding to the possible values of the selected column.
-
Click the arrow in the table header of the column by whose values you want to group.
-
Select Group by this field.
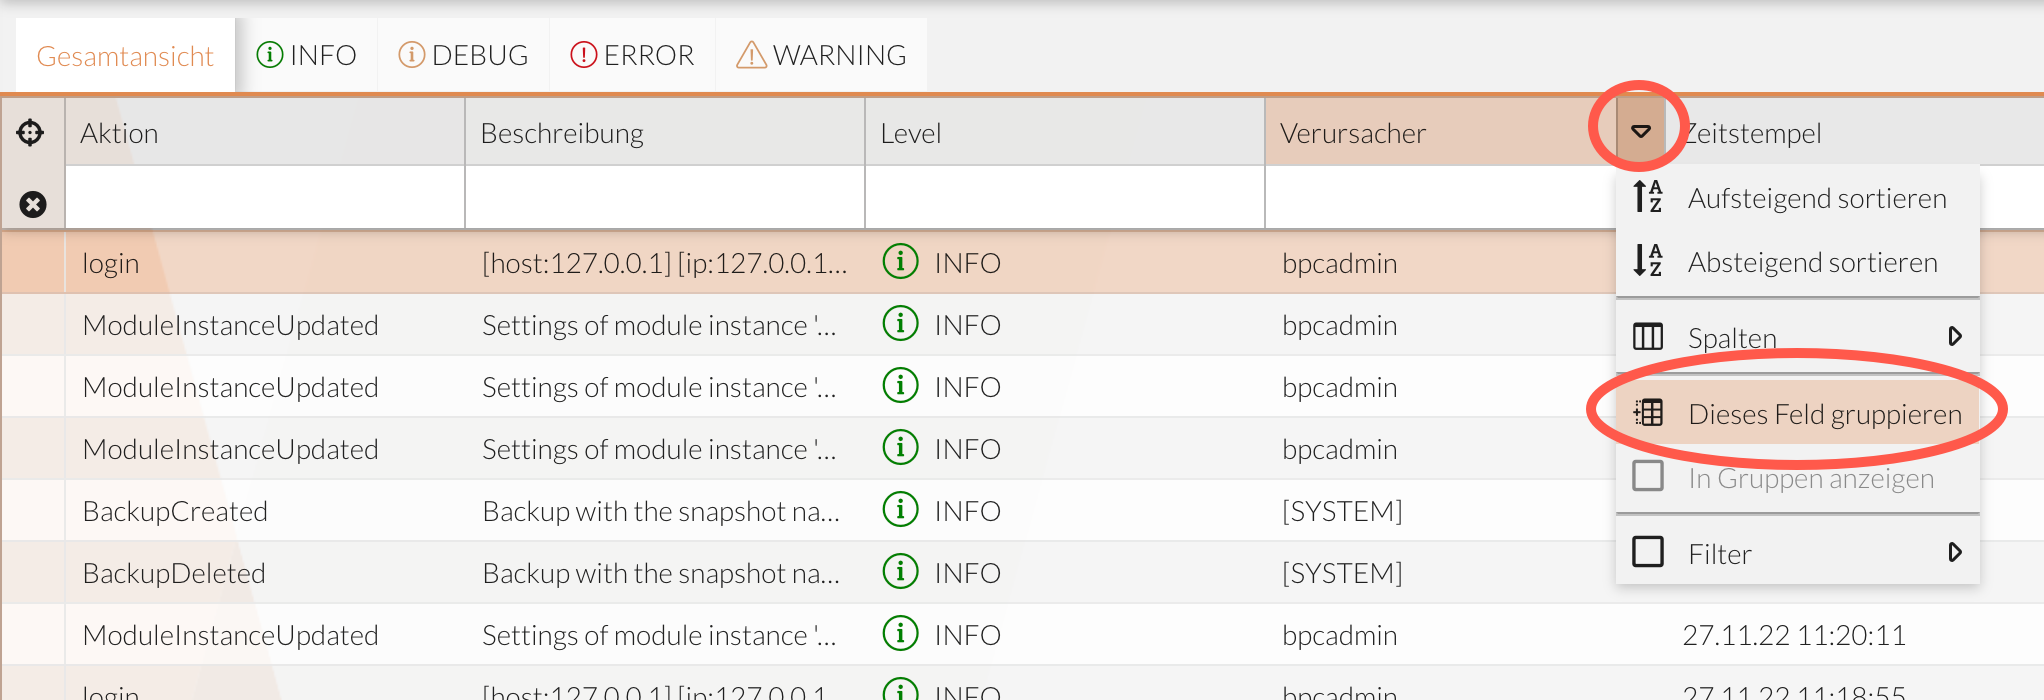
The dataset is grouped.
Ungroup Datasets
To ungroup an existing grouping, proceed as follows:
-
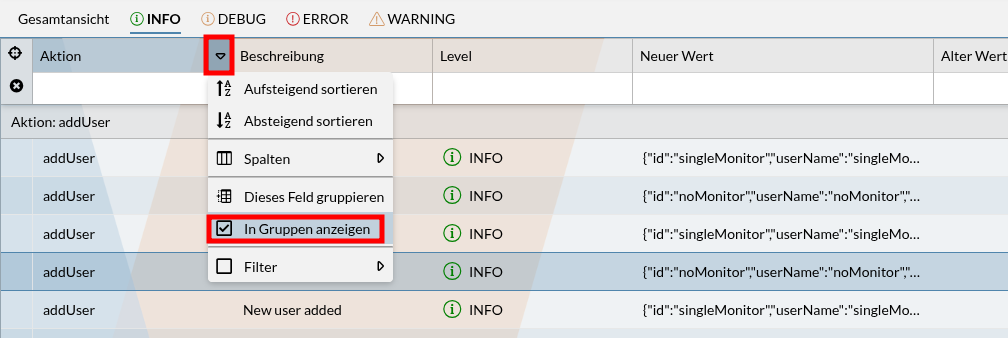
Click the arrow in the table header for the grouped column.
-
Click the menu item Show in Groups
The grouping is removed.