Global Date Filter
The global date filter allows you to define specific dates or time periods in the BPC across modules. This setting can then be used by the modules to filter data based on the specified time period.
Usage
The following application modules can use the global date filter:
-
Process Monitor, see Configuring Monitor Columns
-
Data Analysis, see Global Variables
Location on the User Interface
If the filter function is available to you, a calendar icon appears in the BPC toolbar.

If necessary, contact your administrator.
Opening and closing the date field
To save space on the BPC toolbar, the filter settings are hidden. Configuration is only possible once the date field is opened.
Open the date field
-
Click the icon.
A date field and two quick navigation arrows appear on the toolbar.
-
Click the icon.
The time period selection component (see Selecting the Date Range (Date Range Picker)) opens.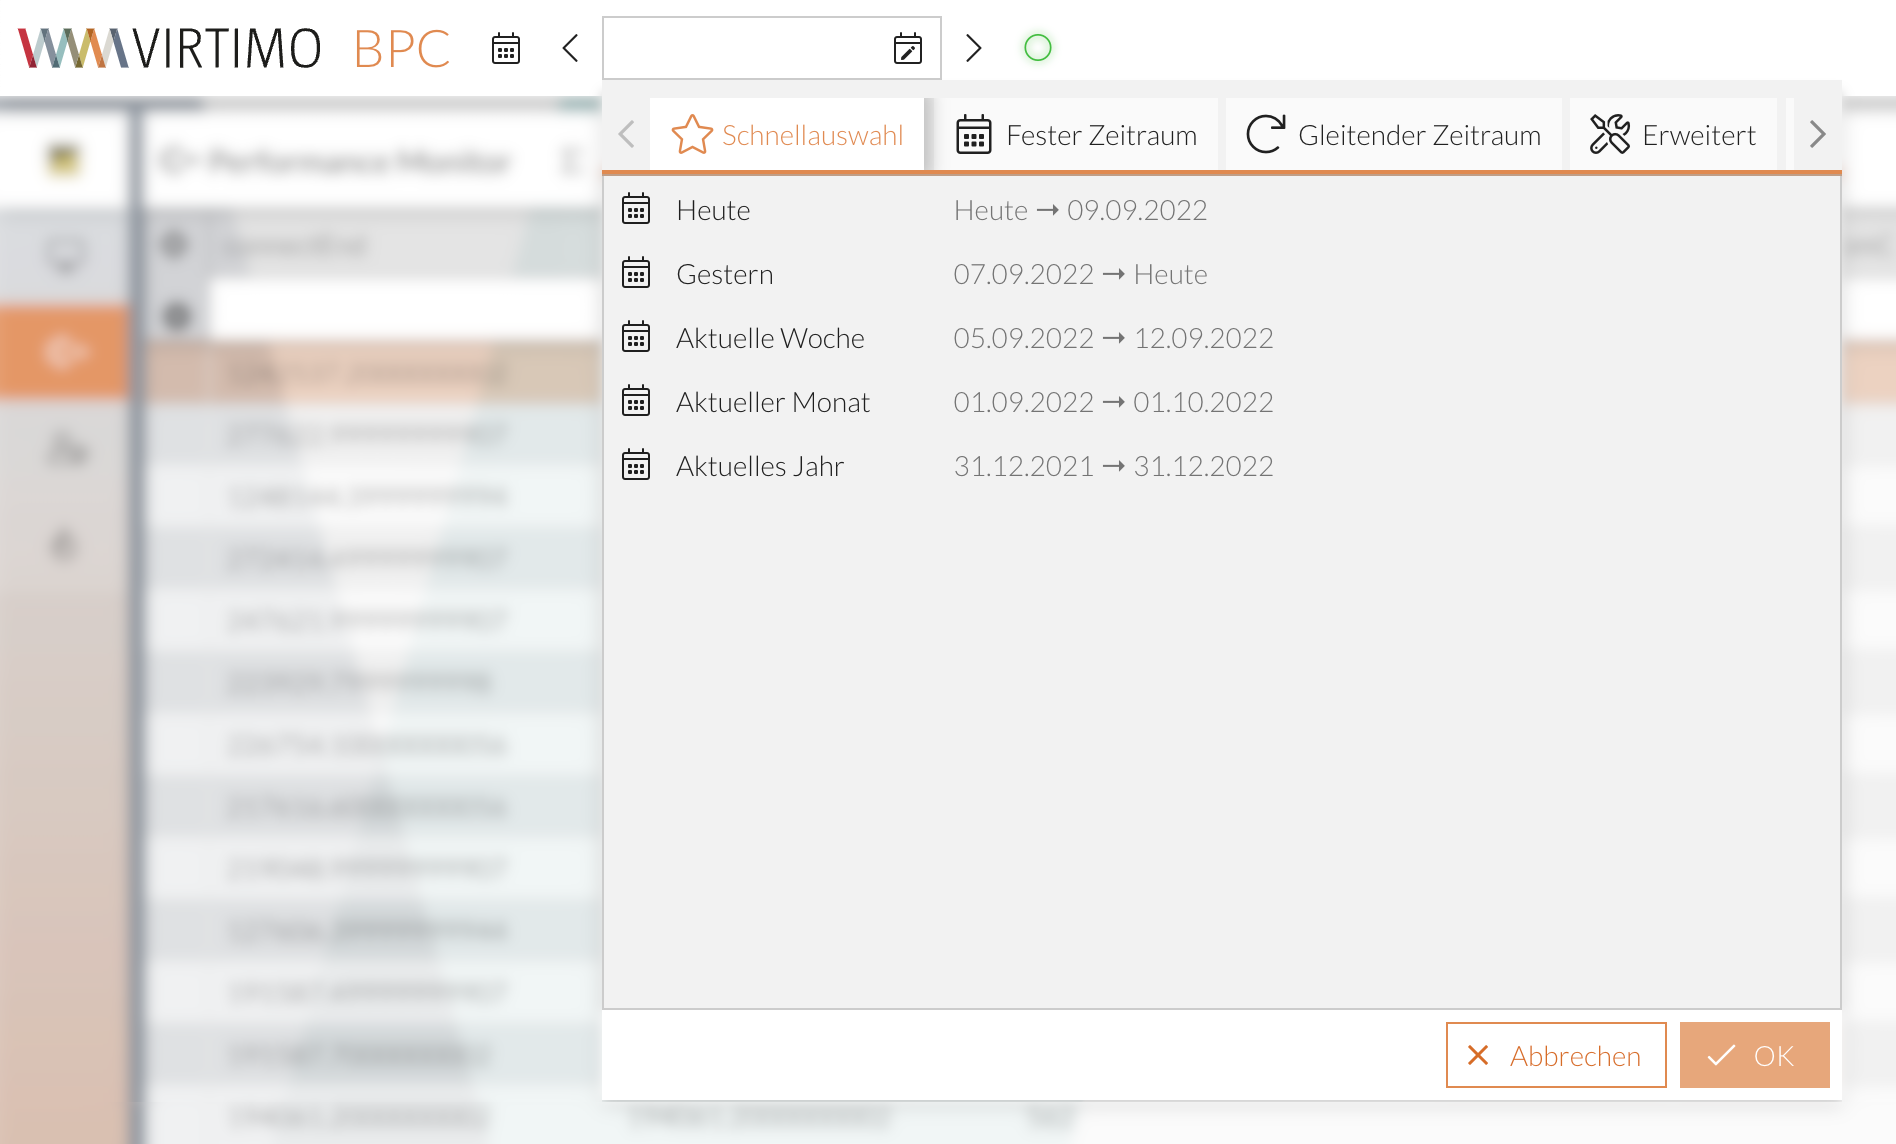
|
If the date filter has already been closed and is then reopened, the last selected time period filter is automatically applied. |
Enabling/Disabling the Global Filter
You can disable the global date filter and enable the module date filter instead. Next to the calendar icon used to open the date field, there is a toggle switch to switch between modes.

When “Global” mode is enabled, the filter affects all modules. “Global” mode is indicated by the globe icon highlighted in color.
When “Module” mode is activated, the specified filter is saved for the current module you are in. The filter then affects only that module. “Global” mode is indicated by the crossed-out navigator icon.
You can switch between modes at any time by clicking the toggle button.
Quick Navigation
On either side of the date field, there is an arrow for quick navigation to the selected filter period or time.
The interval for moving backward or forward can be set at Configuration.
By default, the current time period shifts by the currently selected interval between the start and end dates.
For example, if a one-week time period is selected as the filter, clicking one of the arrows shifts the filter period forward or backward by one week. For example, if “Today” is selected as the filter, clicking one of the arrows shifts the filter to yesterday or tomorrow, respectively.
Quick Selection
By default, the quick selection in the global date filter includes common, predefined time periods, such as “Today,” “Yesterday,” or other current time frames.
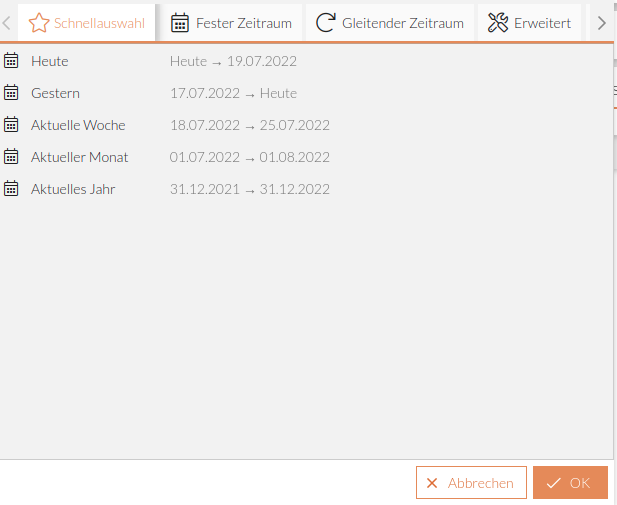
The left column shows the label, and the right column shows a date preview.
Open Quick Selection
There are two ways to access Quick Selection:
Option 1: Using the icon:
-
Open the date field.
-
Hover your mouse over the date field.
A star appears in the field.
-
Click on the star.
The Quick Selection opens.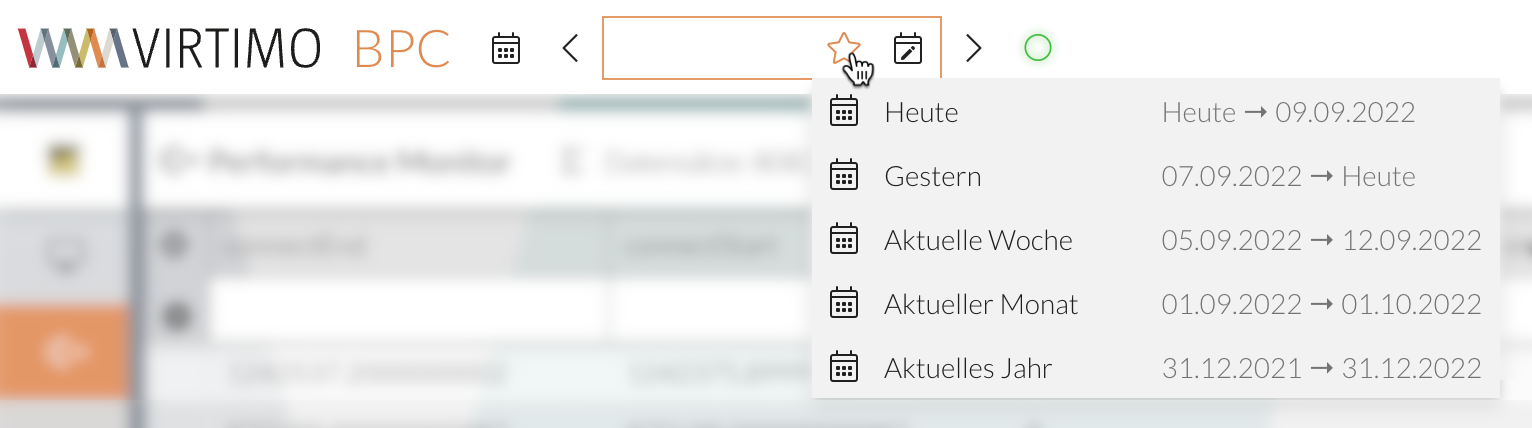
Option 2: Via the Quick Selection tab:
-
Open the date field.
-
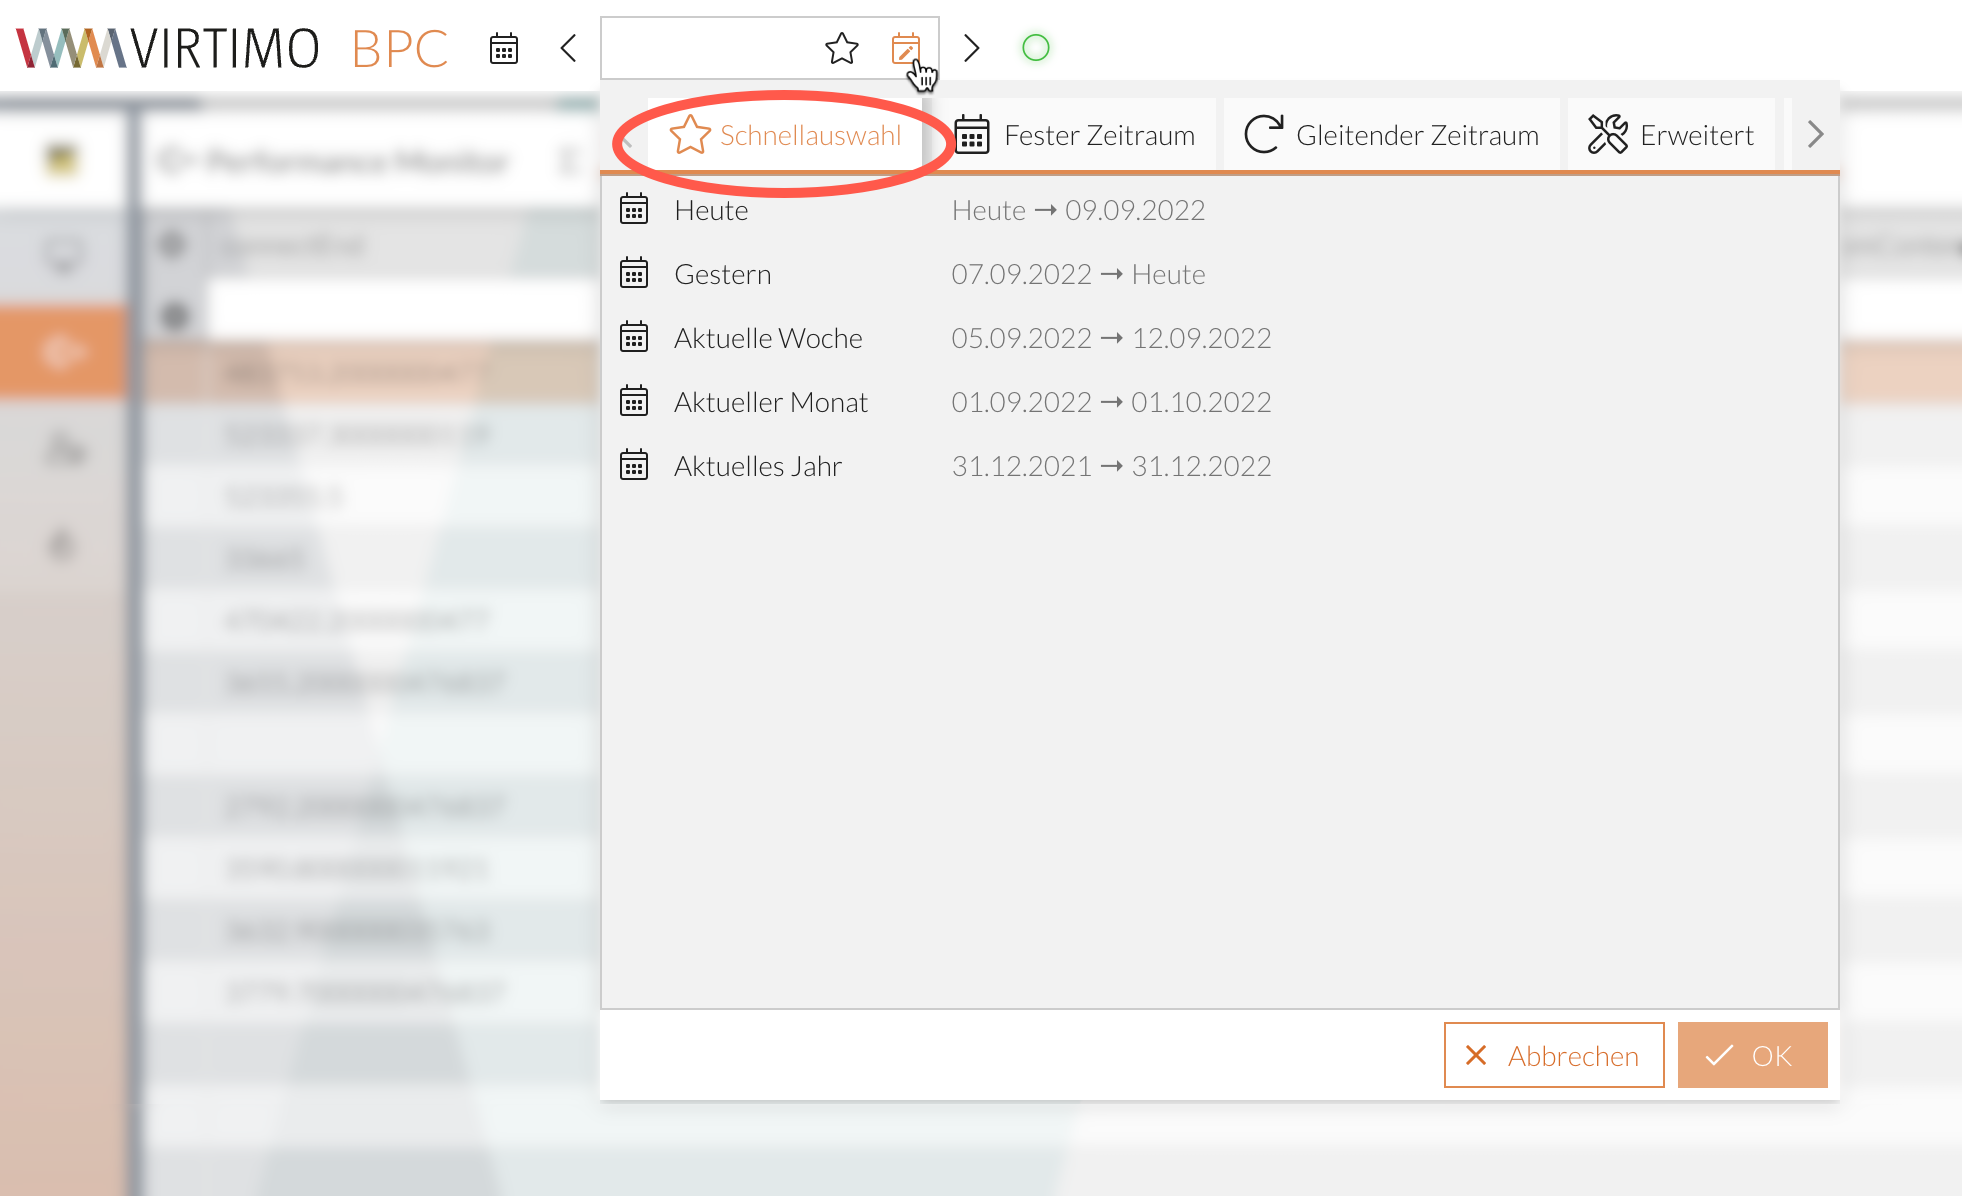
Click the icon.
-
Select the Quick Selection tab if it is not already selected.
Add Custom Time Periods to Quick Selection
You can also add custom times or time periods to Quick Selection.
This requires the appropriate permissions; contact your admin if necessary.
You can configure your own quick-select options in the "Sliding Time Period" and "Advanced" sections.
Set the desired time period in the respective tab and then click the corresponding button.
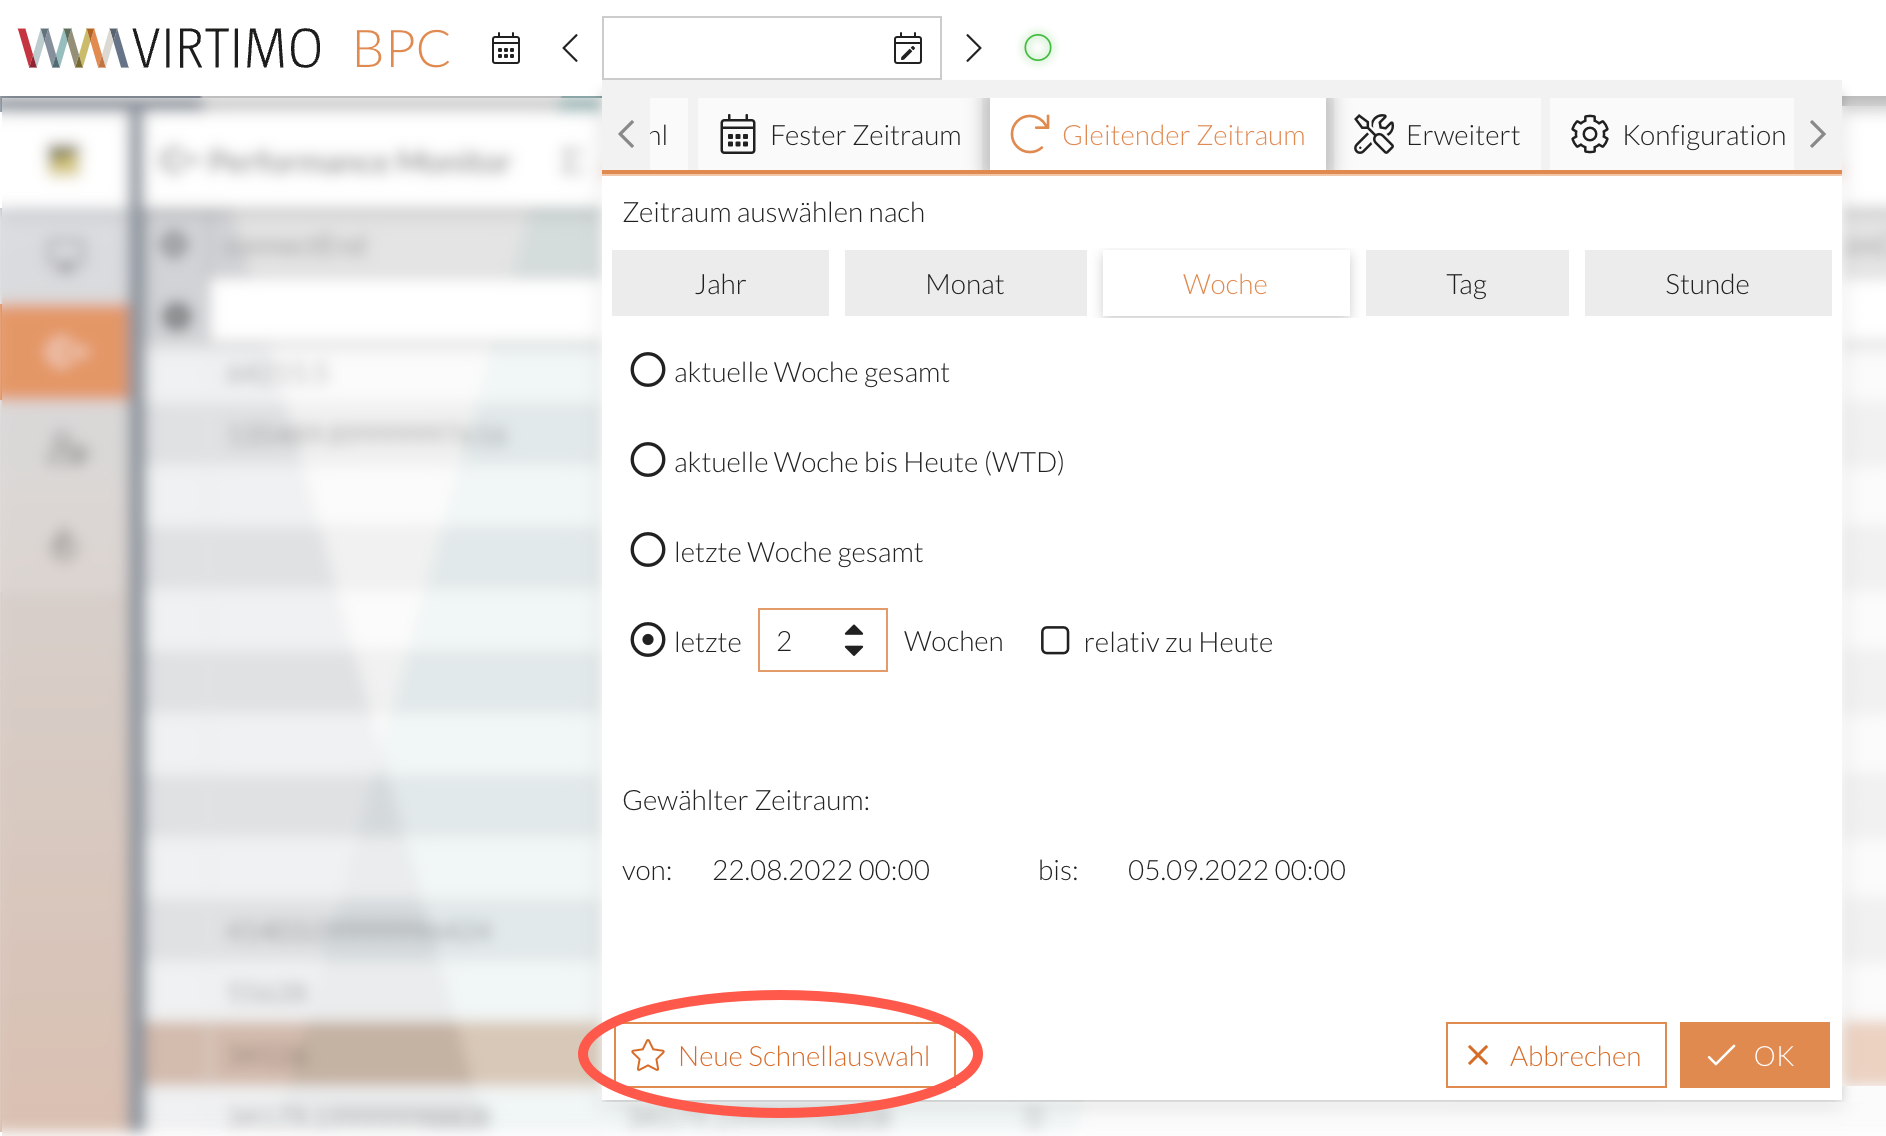
In the window that opens, you can enter a name for the quick-select time period and assign visibility permissions using the "Mapping of Organizations, Roles, and Permissions" principle.
Selecting the Date Range (Date Range Picker)
The Date Range Picker allows you to flexibly select time periods. The component is divided into several tabs, with the active tab always determining the time period being used.
If not all tabs are visible, you can use the arrows to access the rest:
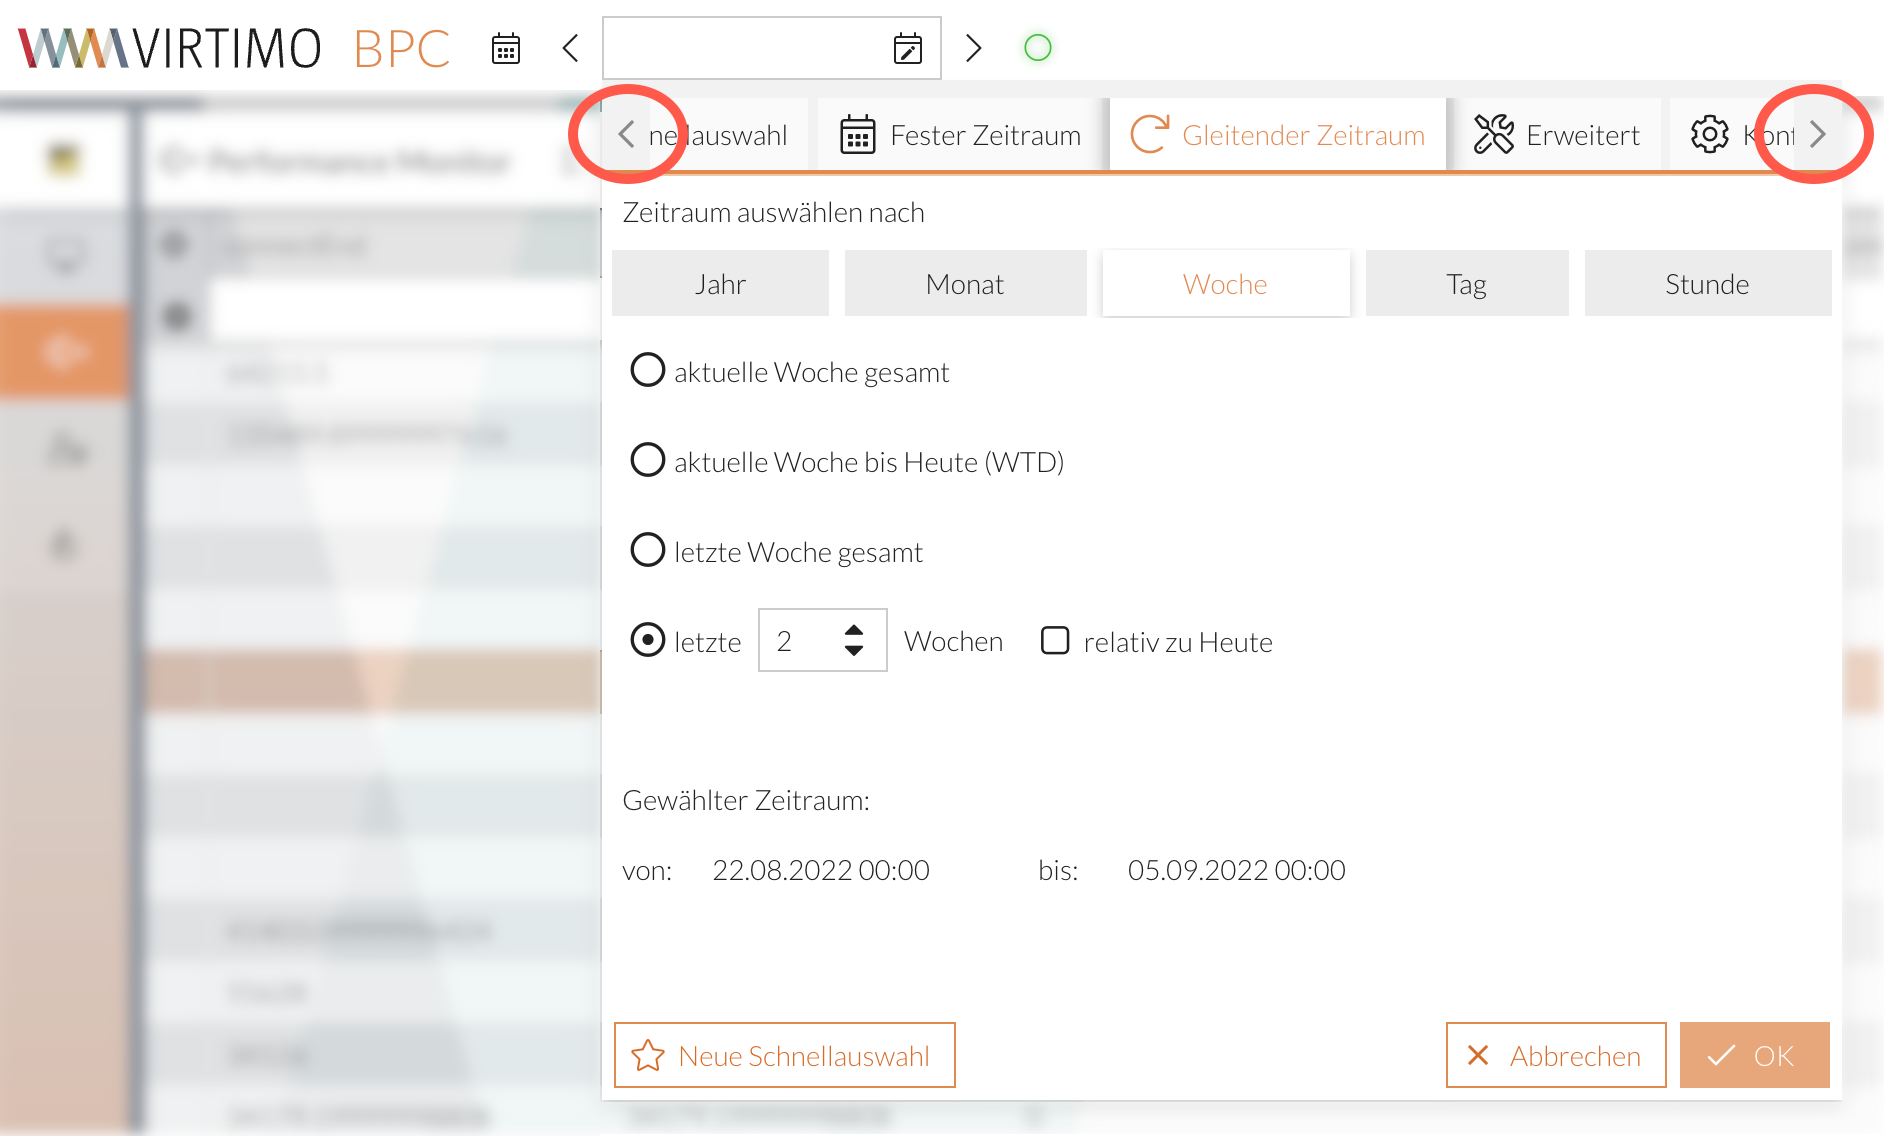
Clicking the OK button activates the selected or configured date filter in BPC.
Fixed Time Period
The “Fixed Time Period” tab has four additional subcategories: “from to,” “from,” “to,” and “on.” By default, a start and end date (“from to”) are specified.
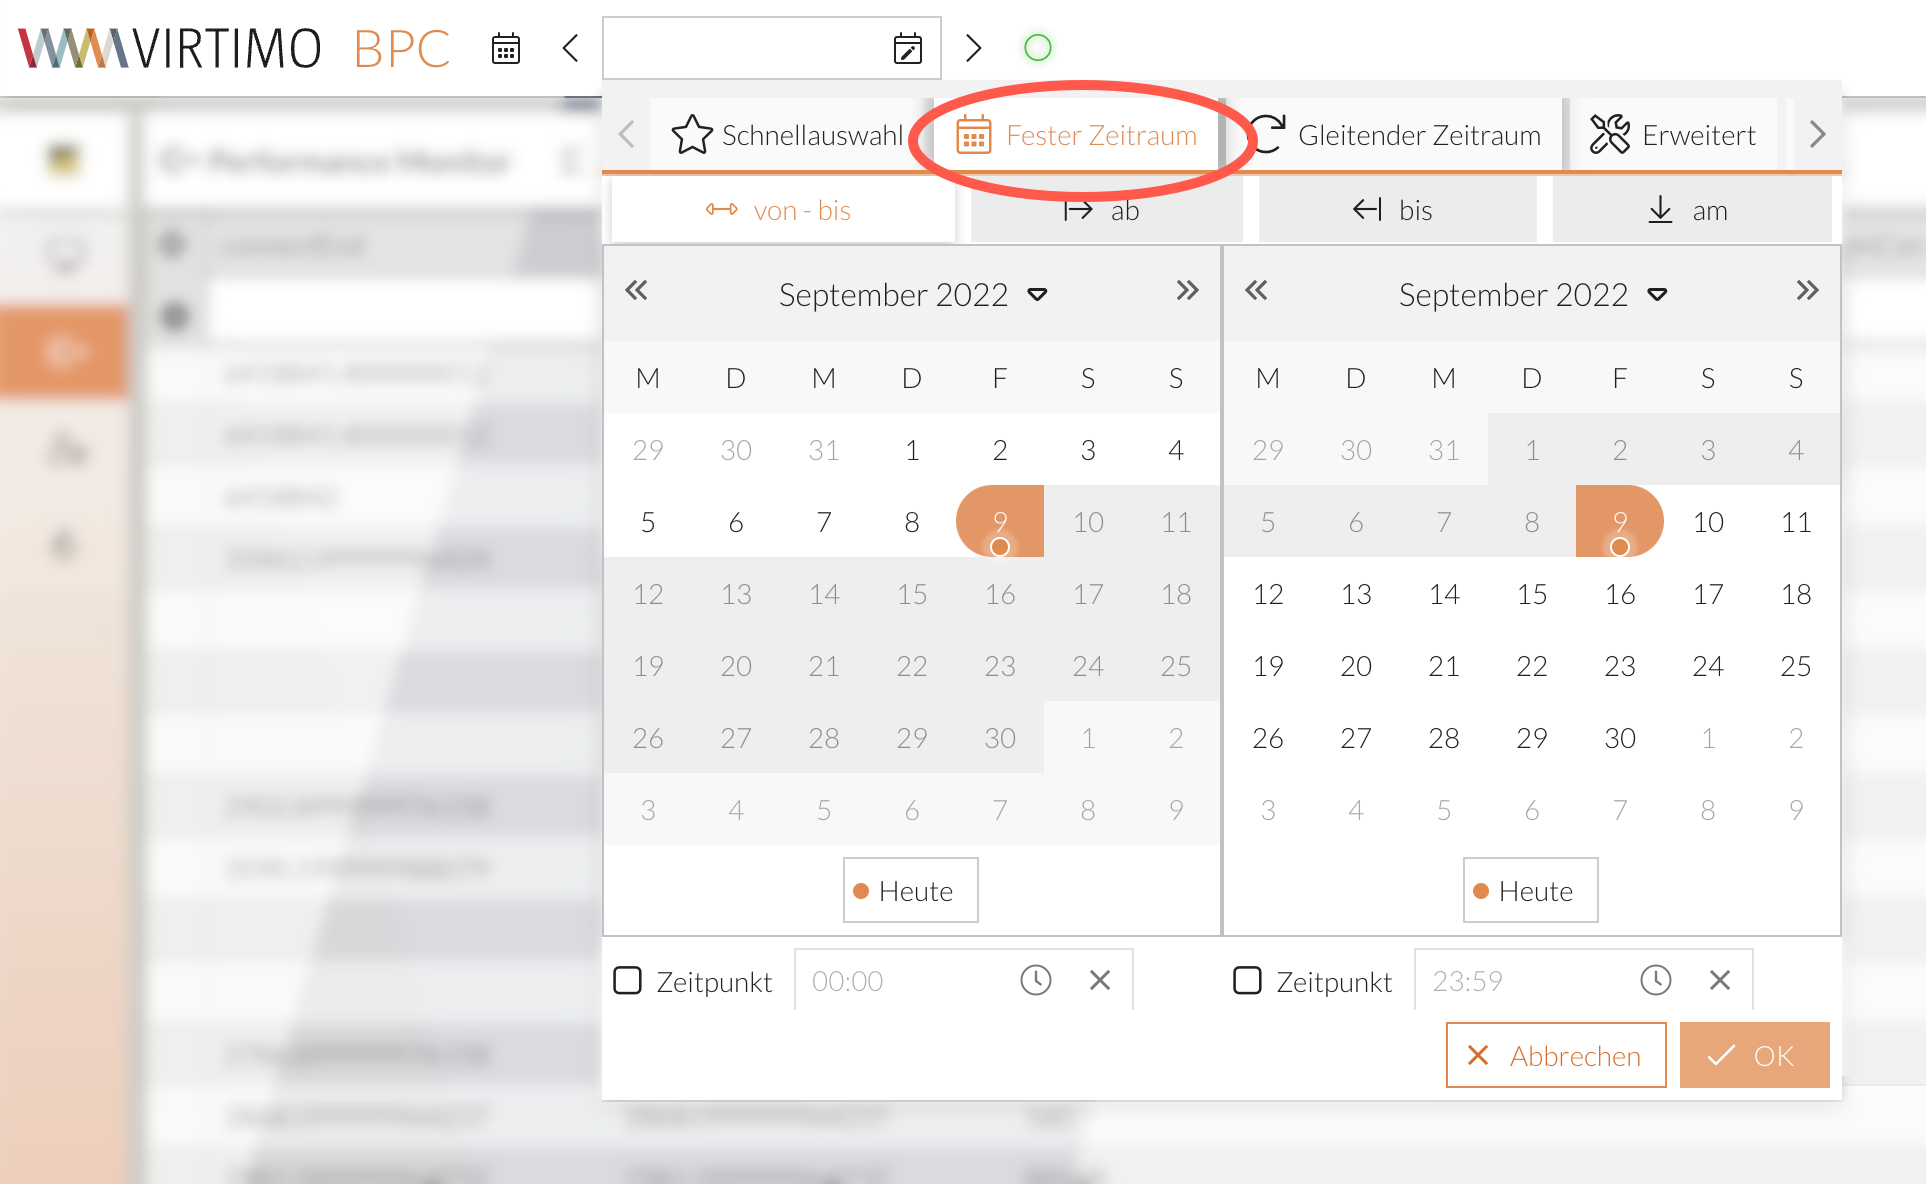
The orange dot always indicates today’s date.
| Period/Time | Description |
|---|---|
from to |
Two calendars are displayed.
The left calendar refers to the start date and the right one to the end date. |
from |
One calendar is displayed.
The selected day marks the start date of the filter.
The end date is open. |
through |
A calendar is displayed.
The selected day marks the end date of the filter.
The start date is open-ended. |
at |
A calendar is displayed.
The selected day marks both the start and end dates of the filter. |
Change Month/Year
Use the double arrows to navigate to the previous or next month:
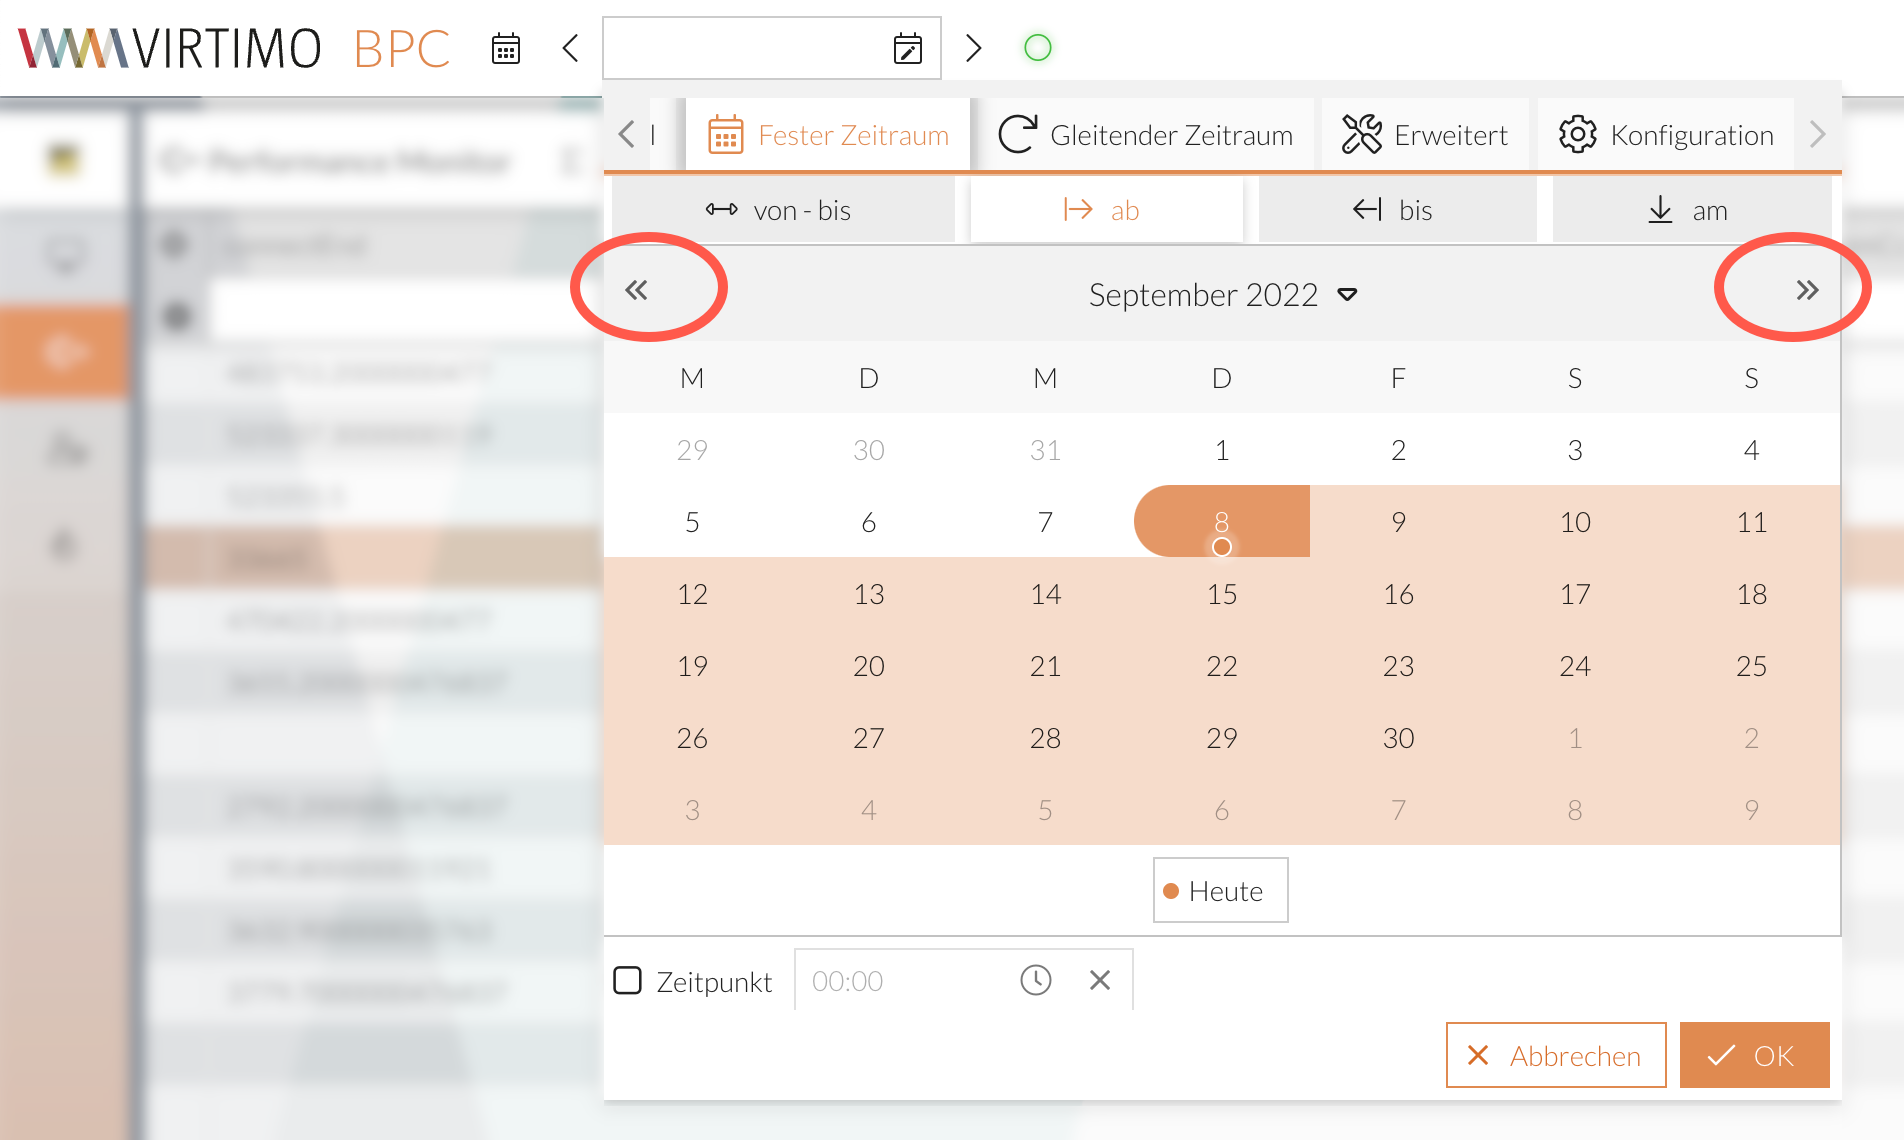
If you want to select a month further back or a different year, click on the current month or the arrow next to it:
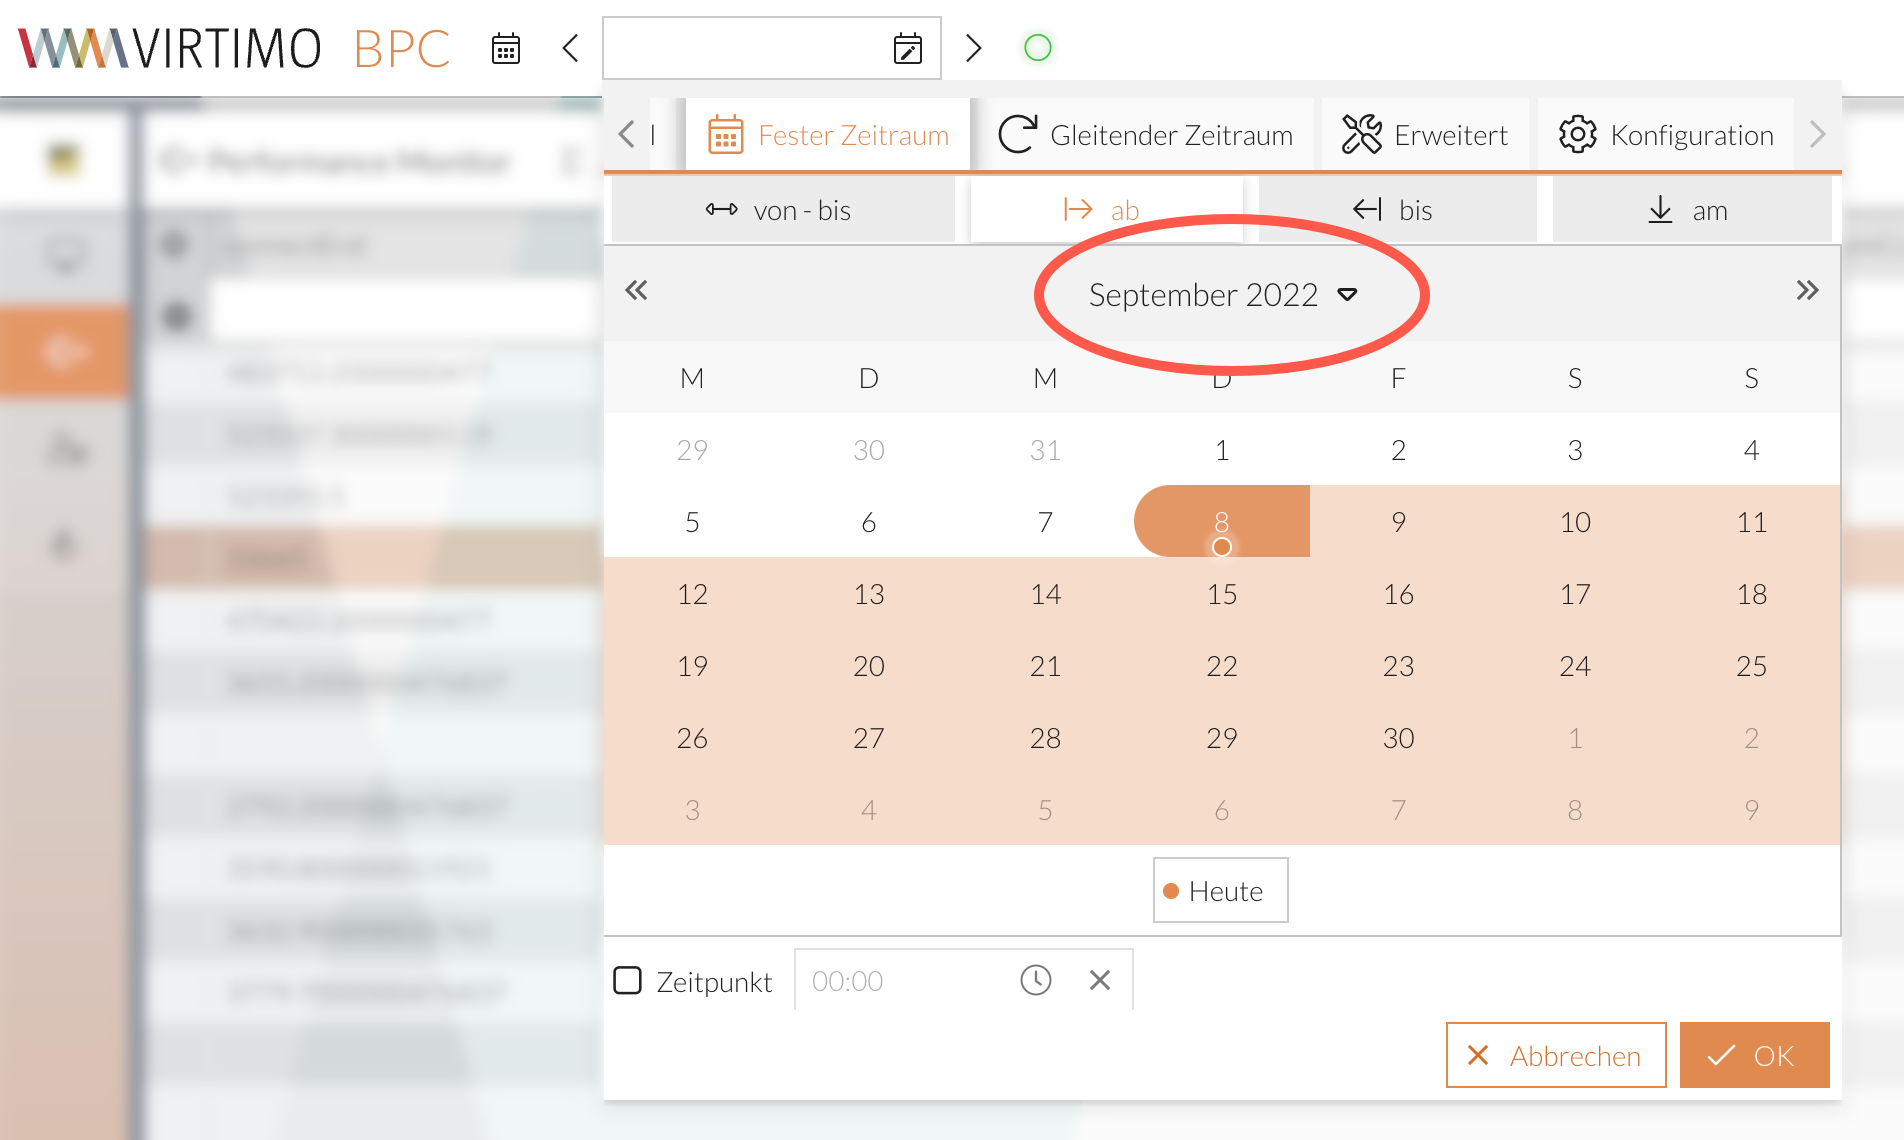
A separate window will open where you can select months and years from the overview:
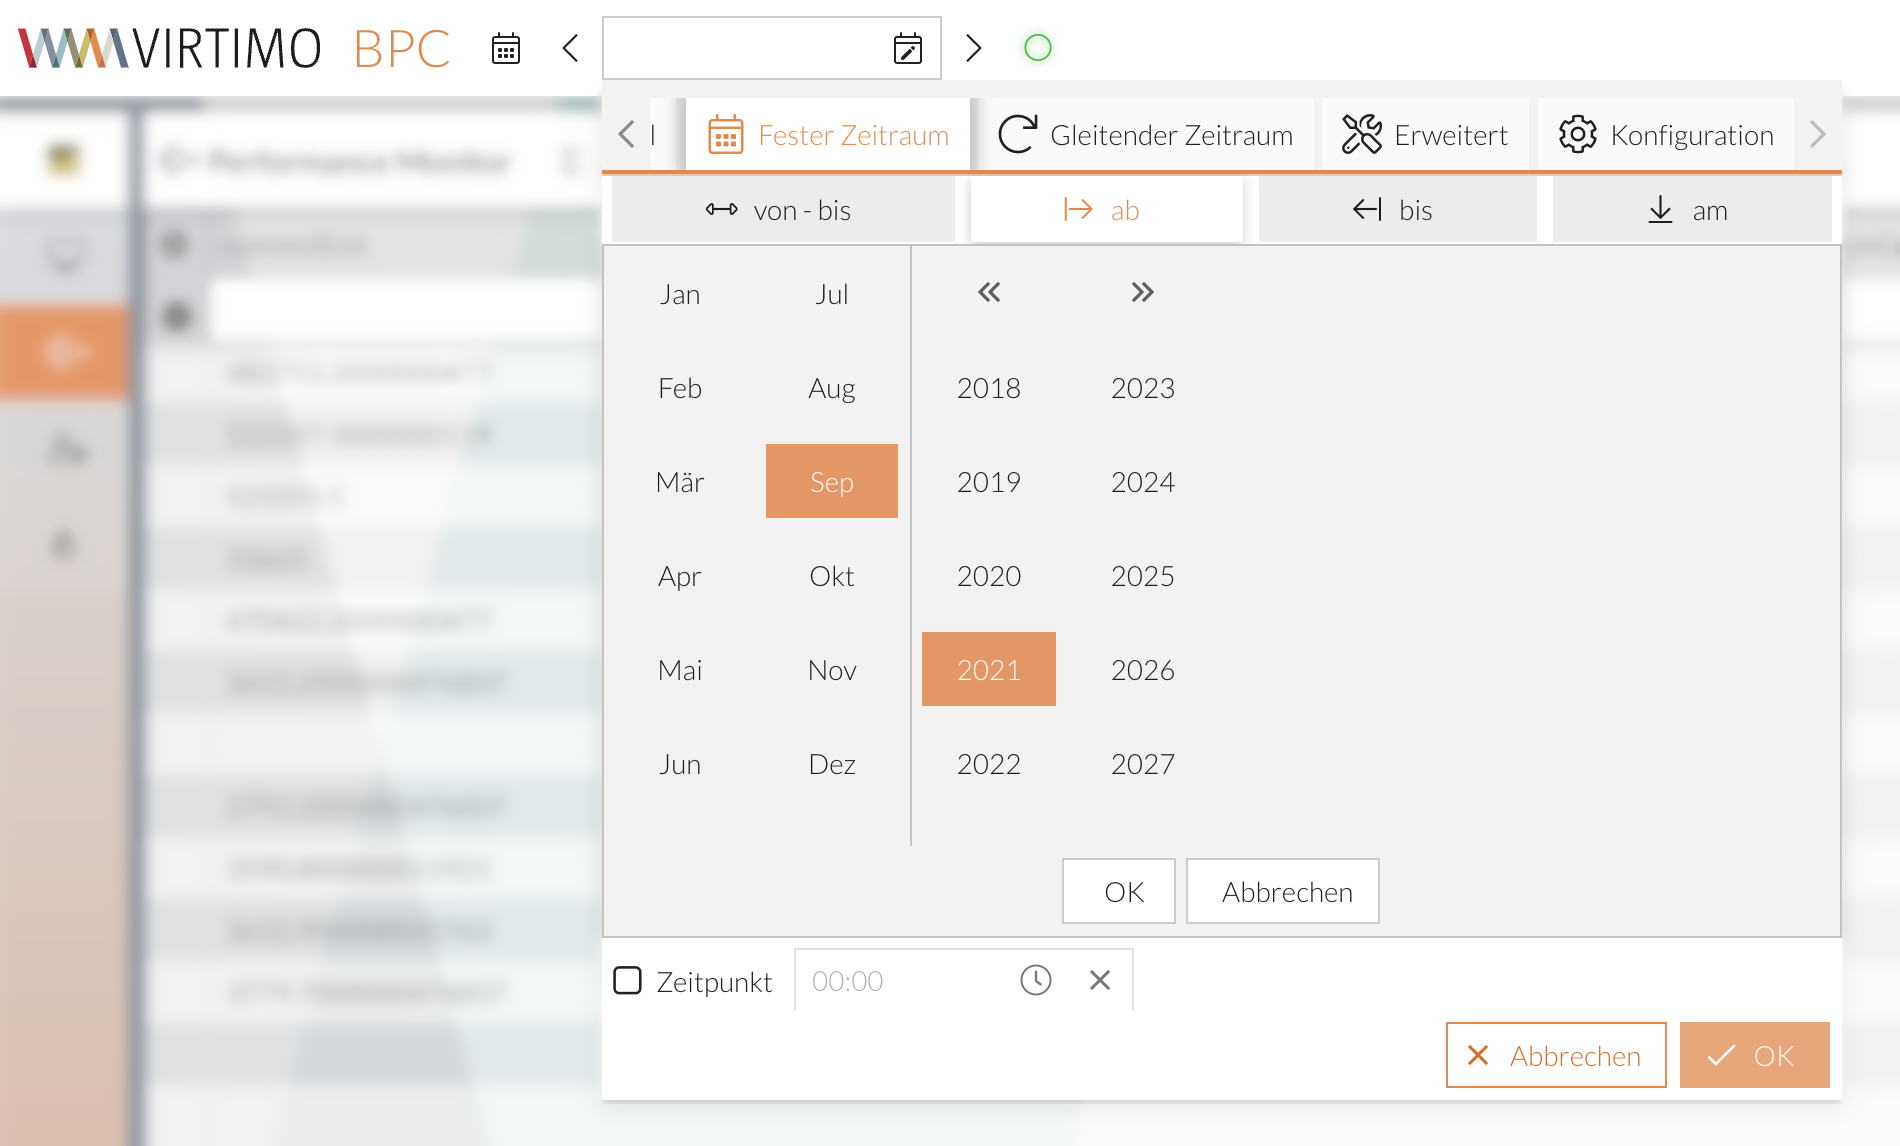
Use the double arrows to navigate between years.
Close the pop-up window by clicking the OK button or the Cancel button.
Select Today’s Date
To select today’s date, click the corresponding button in each calendar.
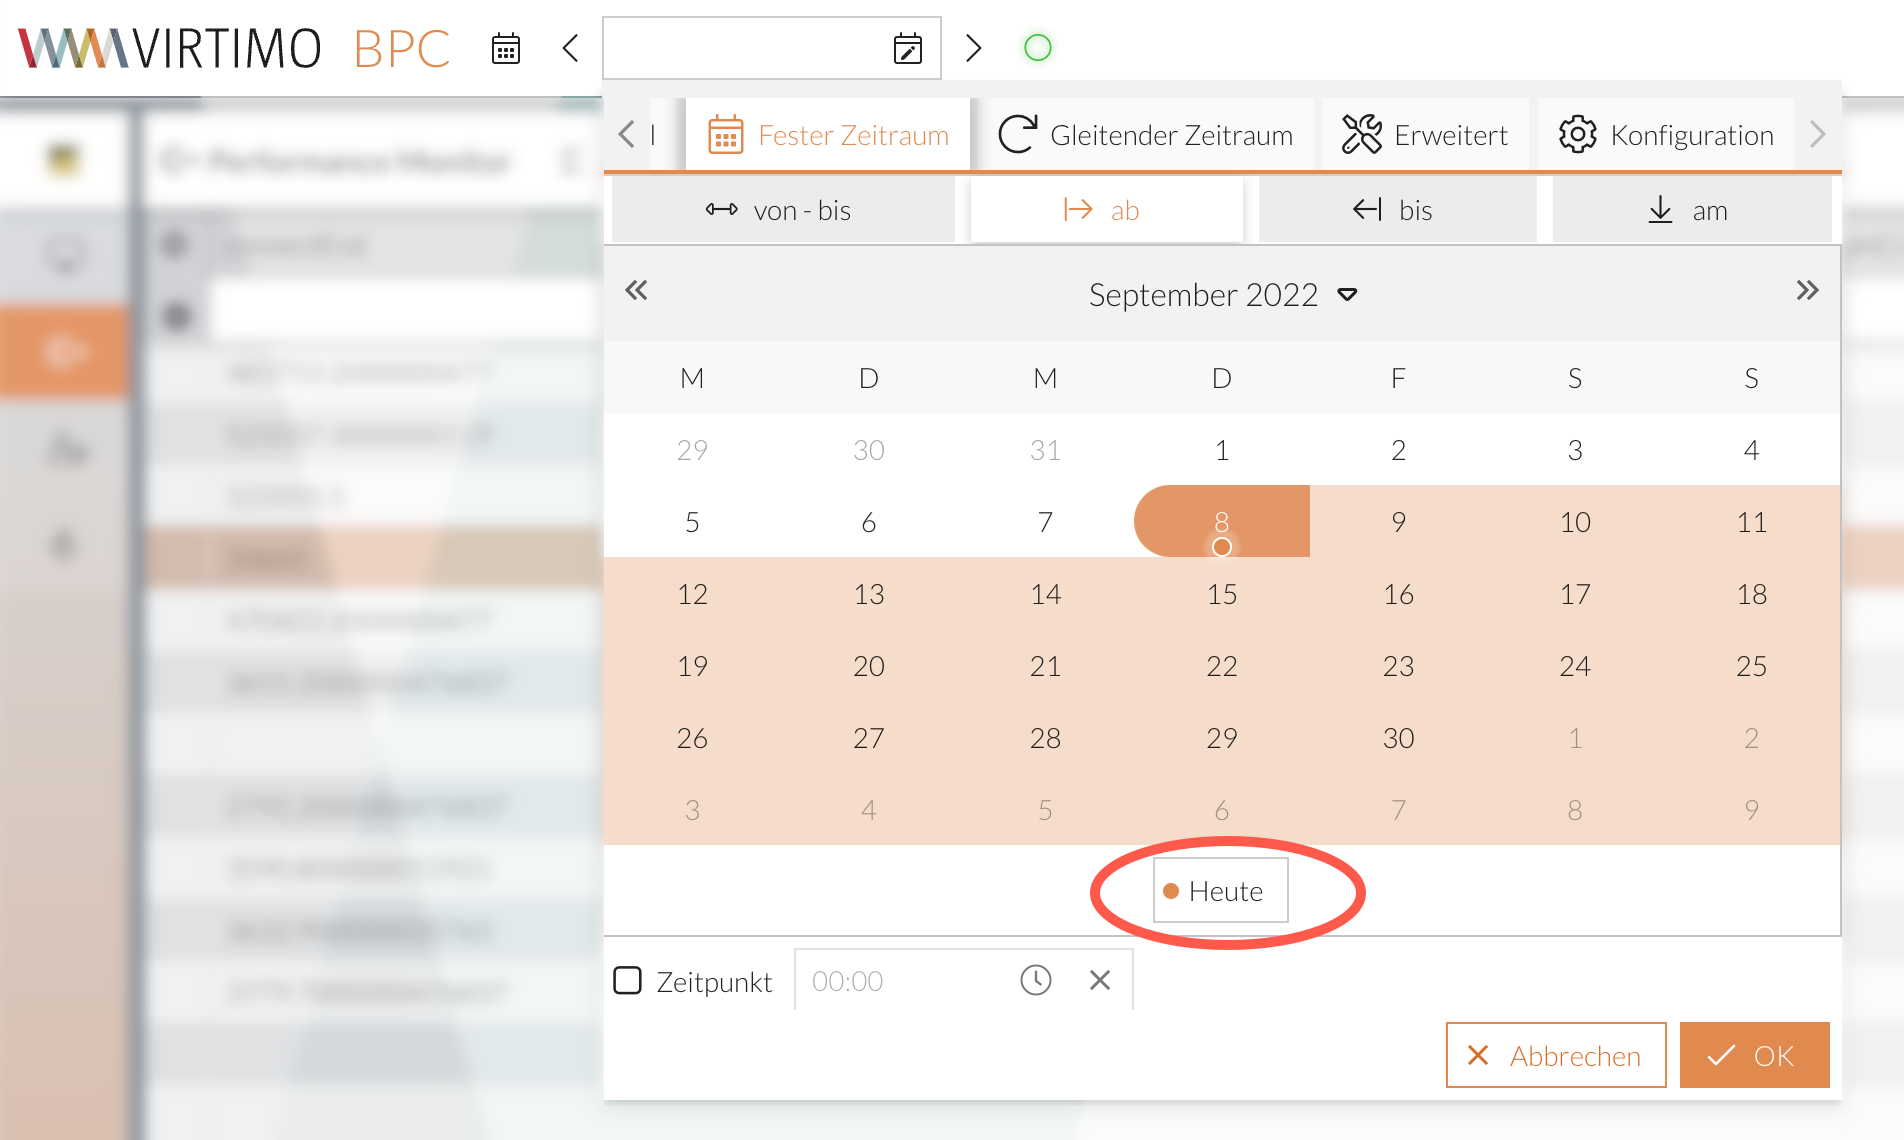
This automatically selects today’s date as the start or end date in the respective calendar.
Set a Specific Time
If desired, you can specify an explicit time for all selectable time periods and points (exception: for “on,” the entire day is counted). To do this, check the box and enter a time (format hh:mm) or select a time from the list using the icon.

You can clear the time specification using the icon.
Rolling Time Period
Rolling time periods are relative to the current date. In this tab, you can select the time period by years, months, weeks, days, or hours using the respective sub-tabs.
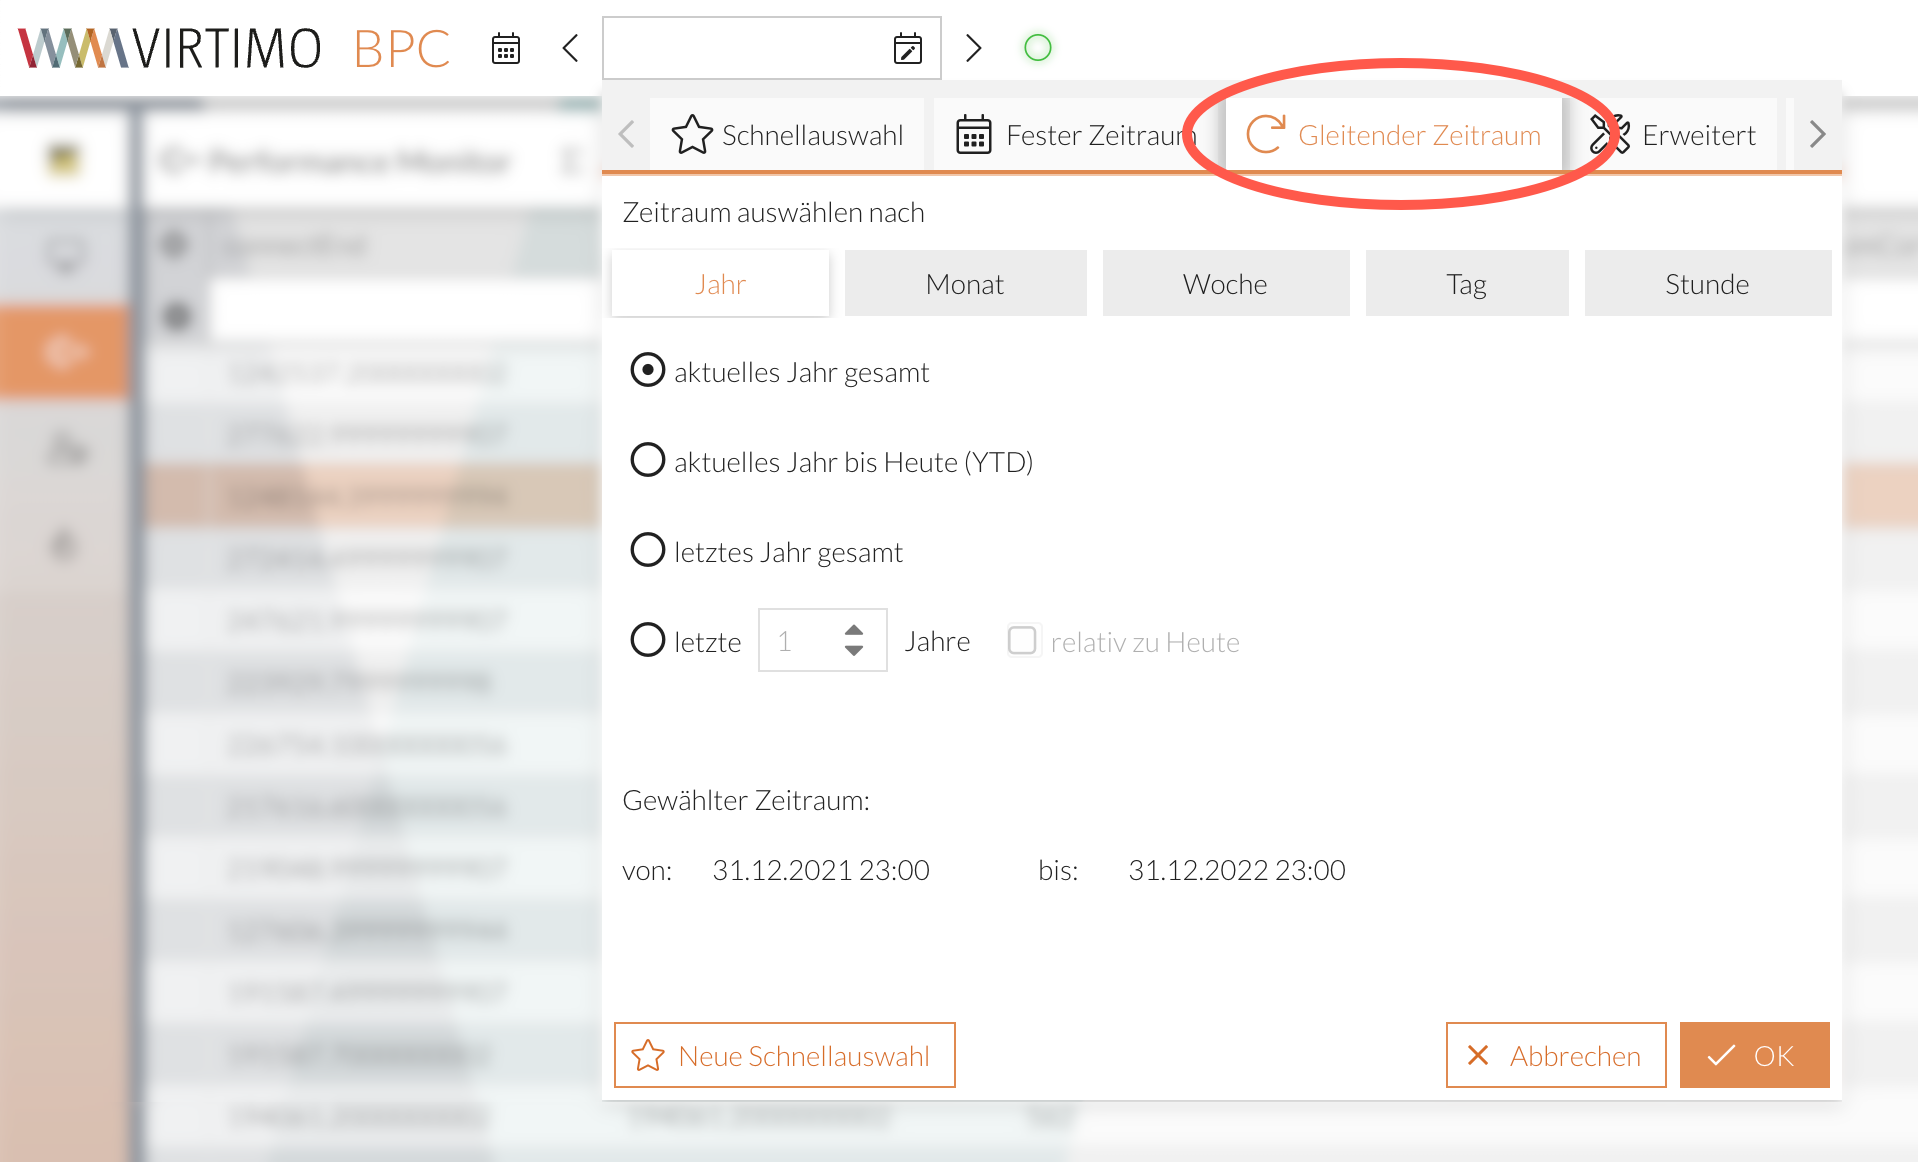
The view includes a preview of the selected time period:

A custom rolling time period can be added to the quick selection if you have the appropriate permissions.
Contact your administrator if necessary.
Advanced
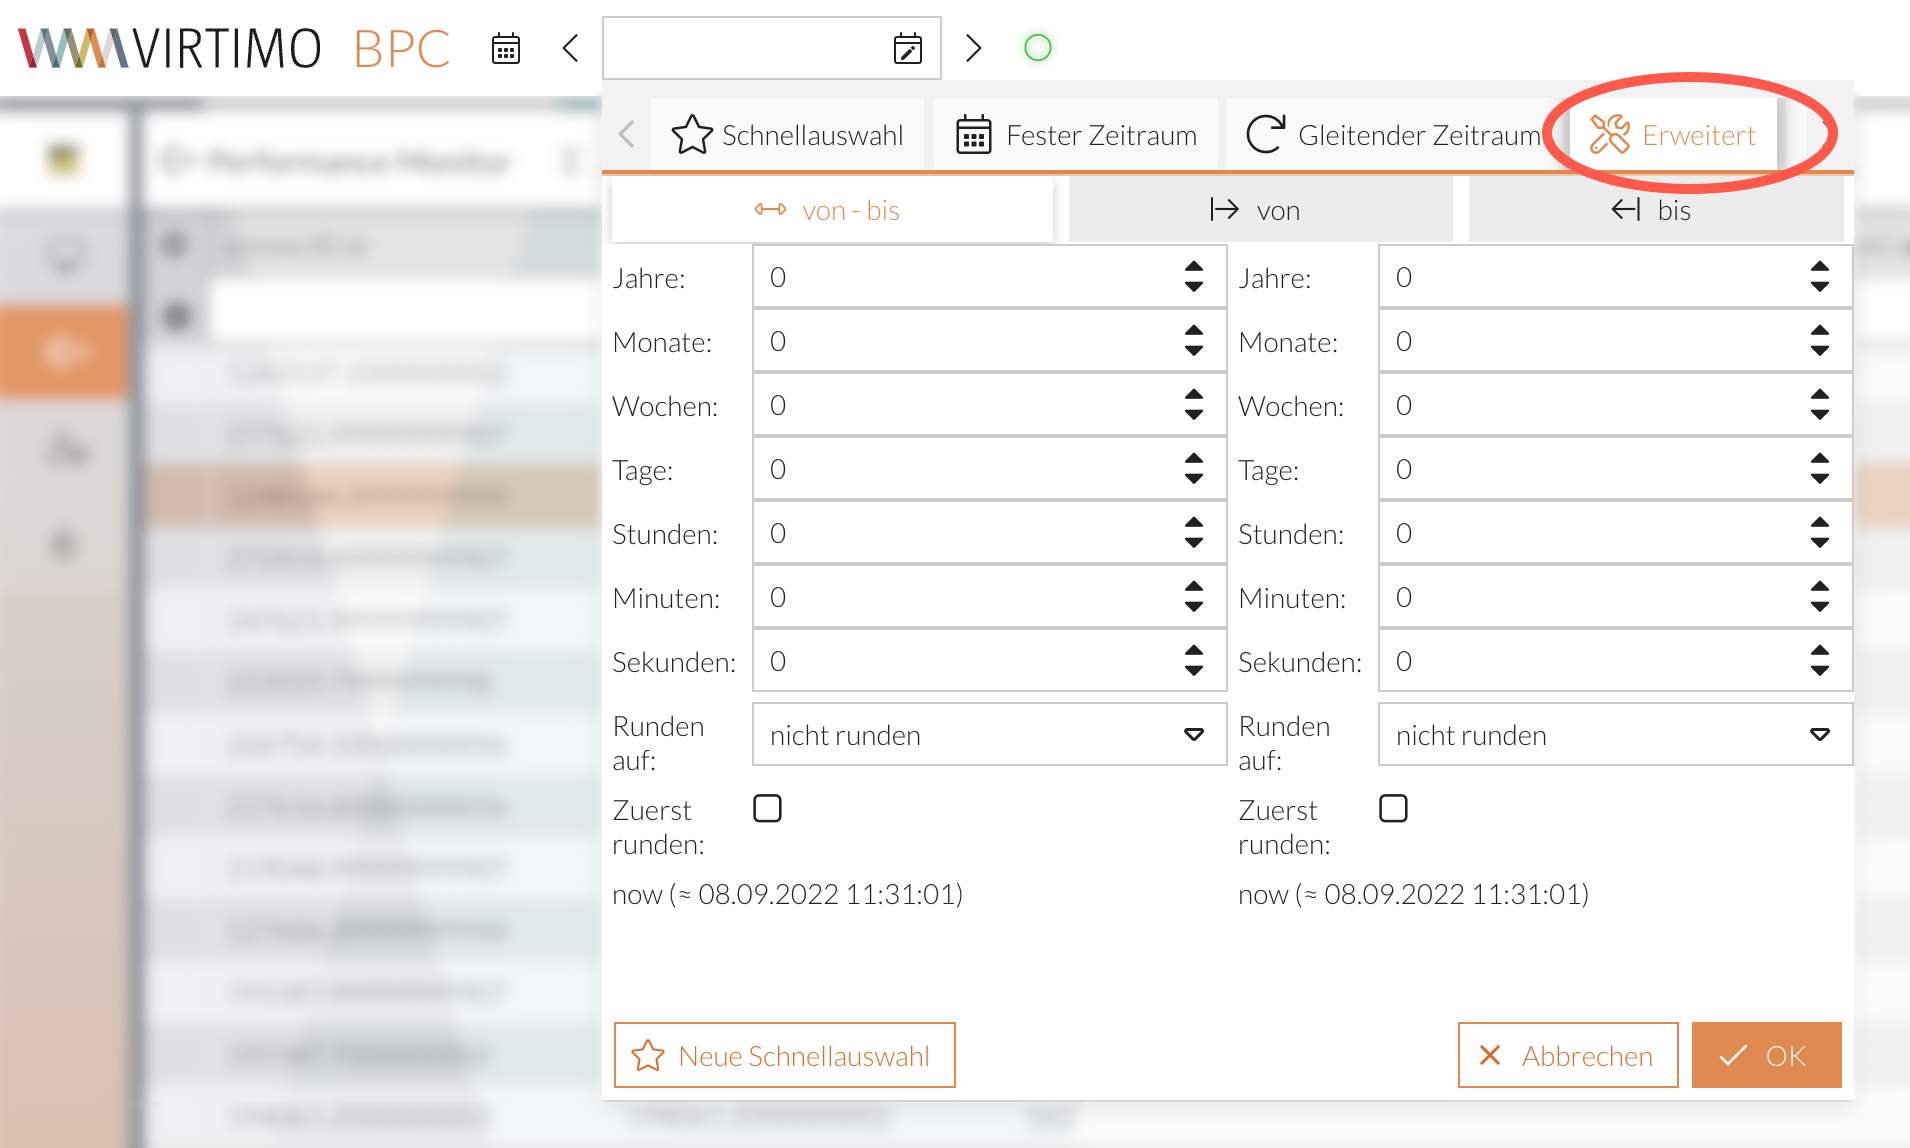
If the existing filter time periods are too imprecise for your needs, you can specify completely custom values in this tab. The available settings in this tab always refer to the current date and, if applicable, the current time.
As in the " Fixed Time Period " tab, there are sub-tabs here labeled "from to," "from," and "to."
Under "from to," you can specify a start and end value.
Under * “From,”* you can set a start value; the end value is automatically set to the current time.
Under * “To,”* the start value is automatically set to the current time; you can set the end value.
Round Values
You can automatically round the selected values up or down.
To do this, select the desired unit from the list next to the "Round to" value.
The resulting time is displayed in the preview.

Additionally, there is the “Round First” option.
Examples
Rounding:
-
You are in the "from" sub-tab.
-
Enter "-1" in the field next to the " Years " value.
or
Click using the icon to navigate to the value "-1".
 -
Under " Round," select the "Month" option.
-
Click OK.
The set start date is then "The first day of the month one year ago."
Round First:
With the “Round First” option, rounding is moved to an earlier stage of the calculation.
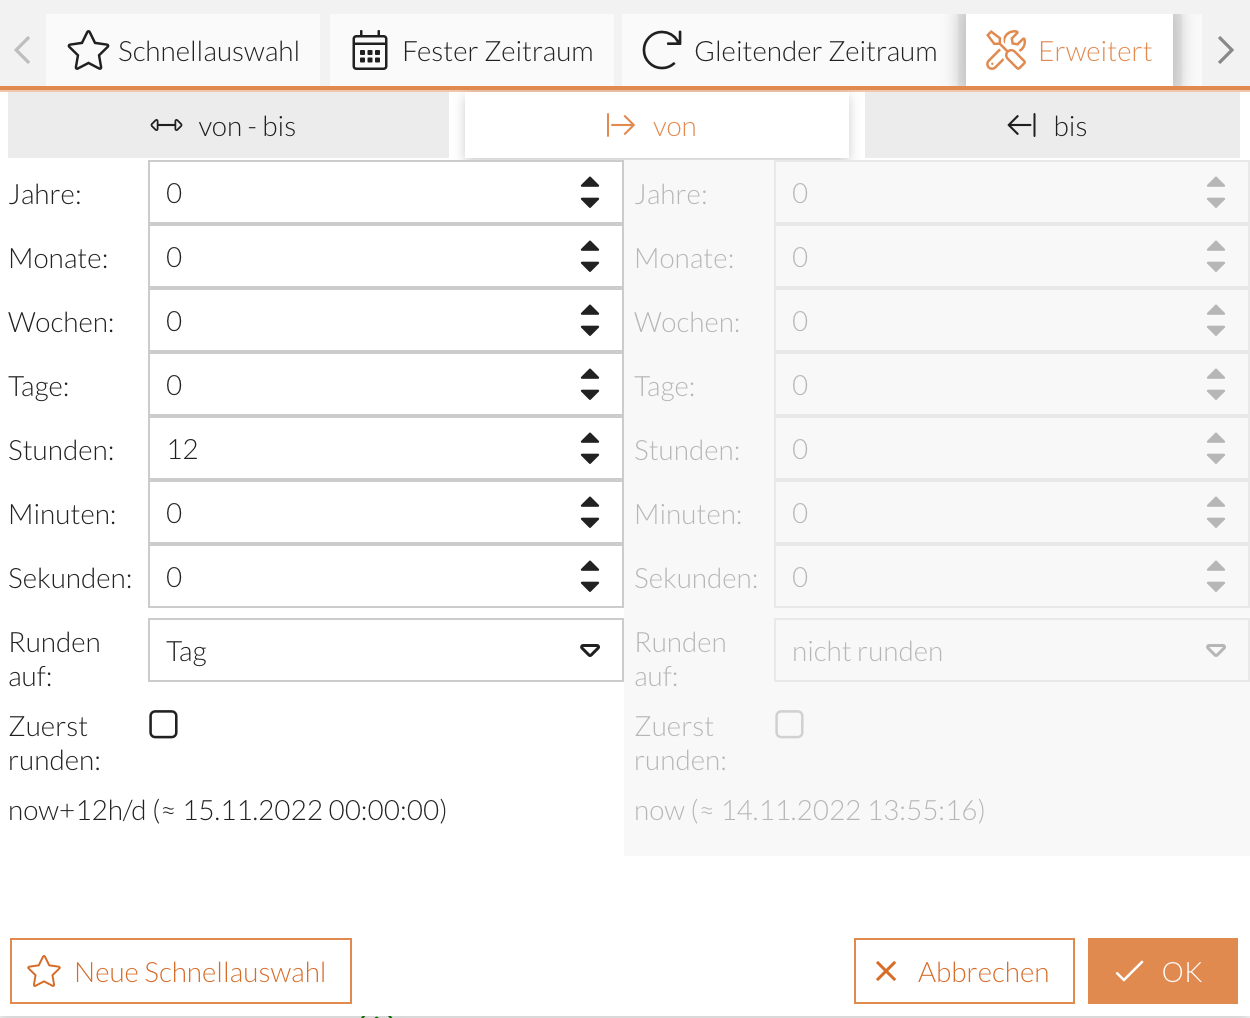
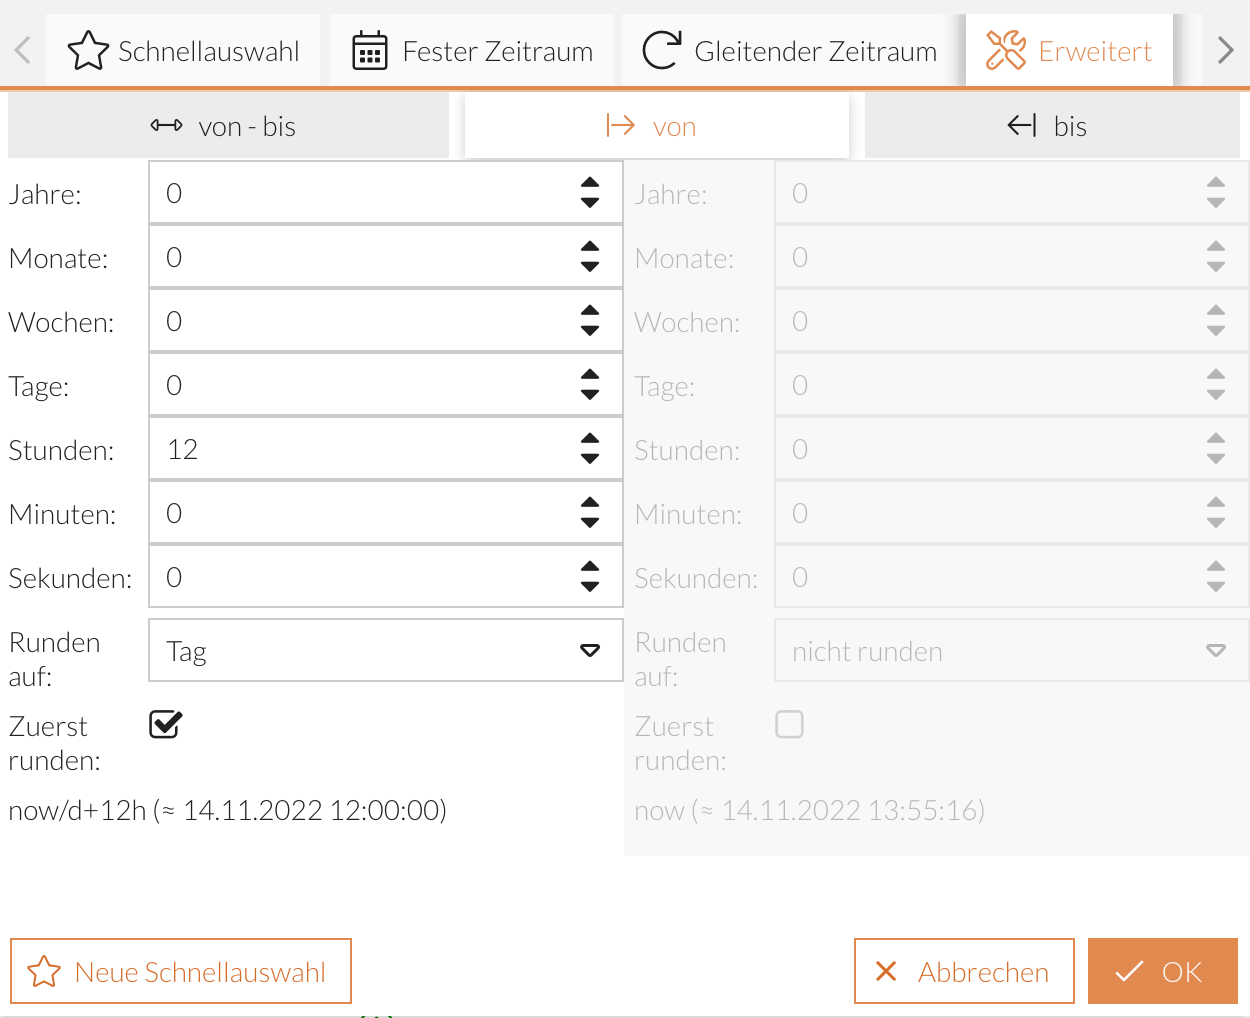
To illustrate, here are two examples with a starting time of November 14, 2022, at 1:40 p.m. and the same calculation values: The first example does not use the “Round First” option; the second example does.
-
You are in the “from” sub-tab.
-
Enter “12” in the field next to the “Hours” value.
or
Click using theicon to select the value “12.” -
Under “Rounds,” select the “Day” option.
-
Click OK.
The set start date is calculated as follows:
The current time plus 12 hours, i.e., November 15, 2022, at 1:40 a.m.
Rounding this time to the nearest day yields November 15, 2022, 12:00 a. m.
-
You are in the “From” sub-tab.
-
Enter “12” in the field next to the “Hours” value.
or
Click using theto reach the value “12.” -
Under “Round,” select the “Day” option.
-
Select the “Round first” option.
-
Click OK.
The set start date is calculated as follows:
The current time rounded to the nearest day, i.e., today, November 14, 2022, 12:00 a.m.
Then, 12 hours are added, resulting in November 14, 2022, 12:00 p.m.
Configuration
In this tab, you can configure the offset interval for the Quick Navigation.
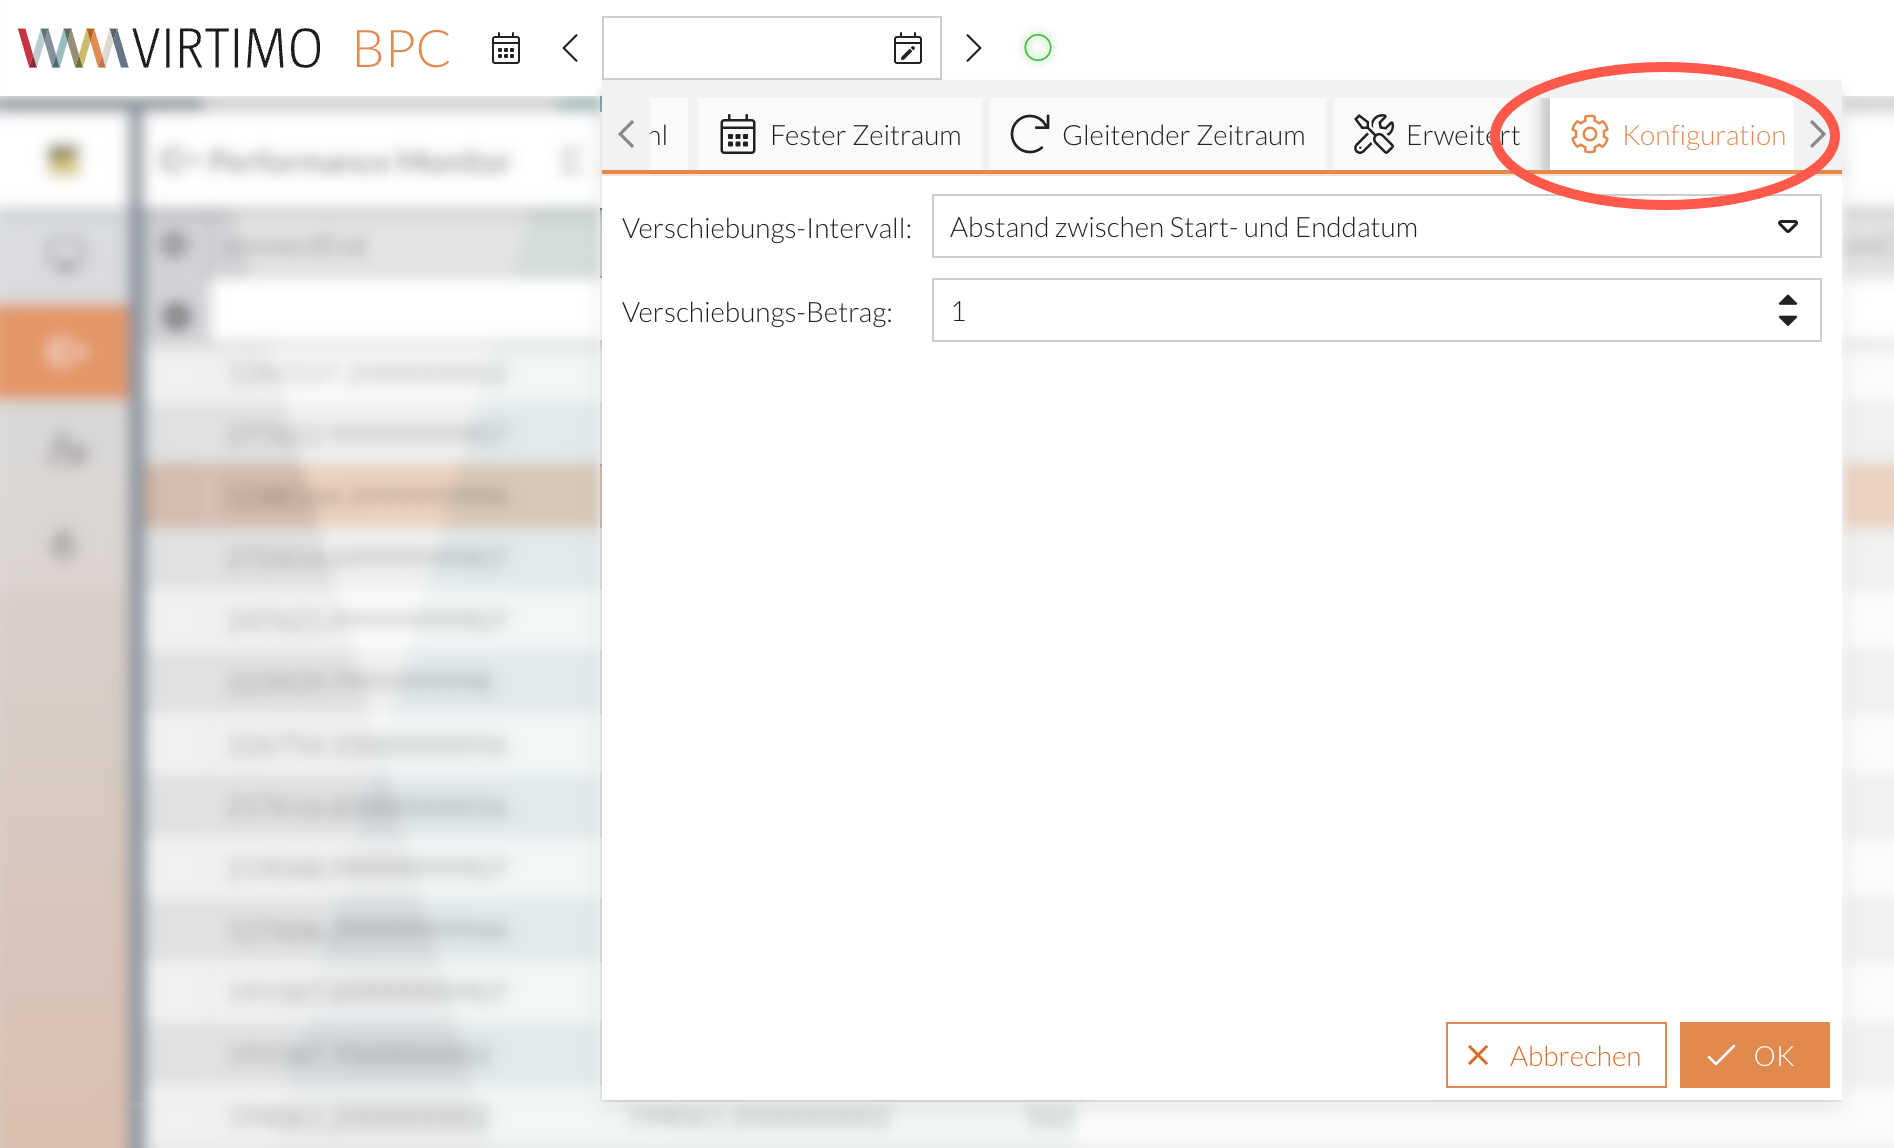
You can select the shift interval from a list of time units, such as years or minutes. The shift amount can be adjusted as desired.
